With the arrival of my chosen wallpaper and flooring papers yesterday, I have finally started the preparation of the shop box by painting the outside of the ‘building’.

The shop itself is a 1:12th scale flat pack MDF Room Box Shop Kit with a white shop front purchased from the Beautifully Handmade ebay shop. Once constructed, the completed box will be approx 35.5cm x 25cm x 26cm deep internally. The kit includes a 5 piece untreated MDF flat pack box, a ‘Streets Ahead’ shop front (pre-painted white) and 2 hooks and eyes with screws (to hold the shop front on).
The shop front windows are fitted with clear acetate with a decoratative white design and there is a prefitted door which opens inwards.
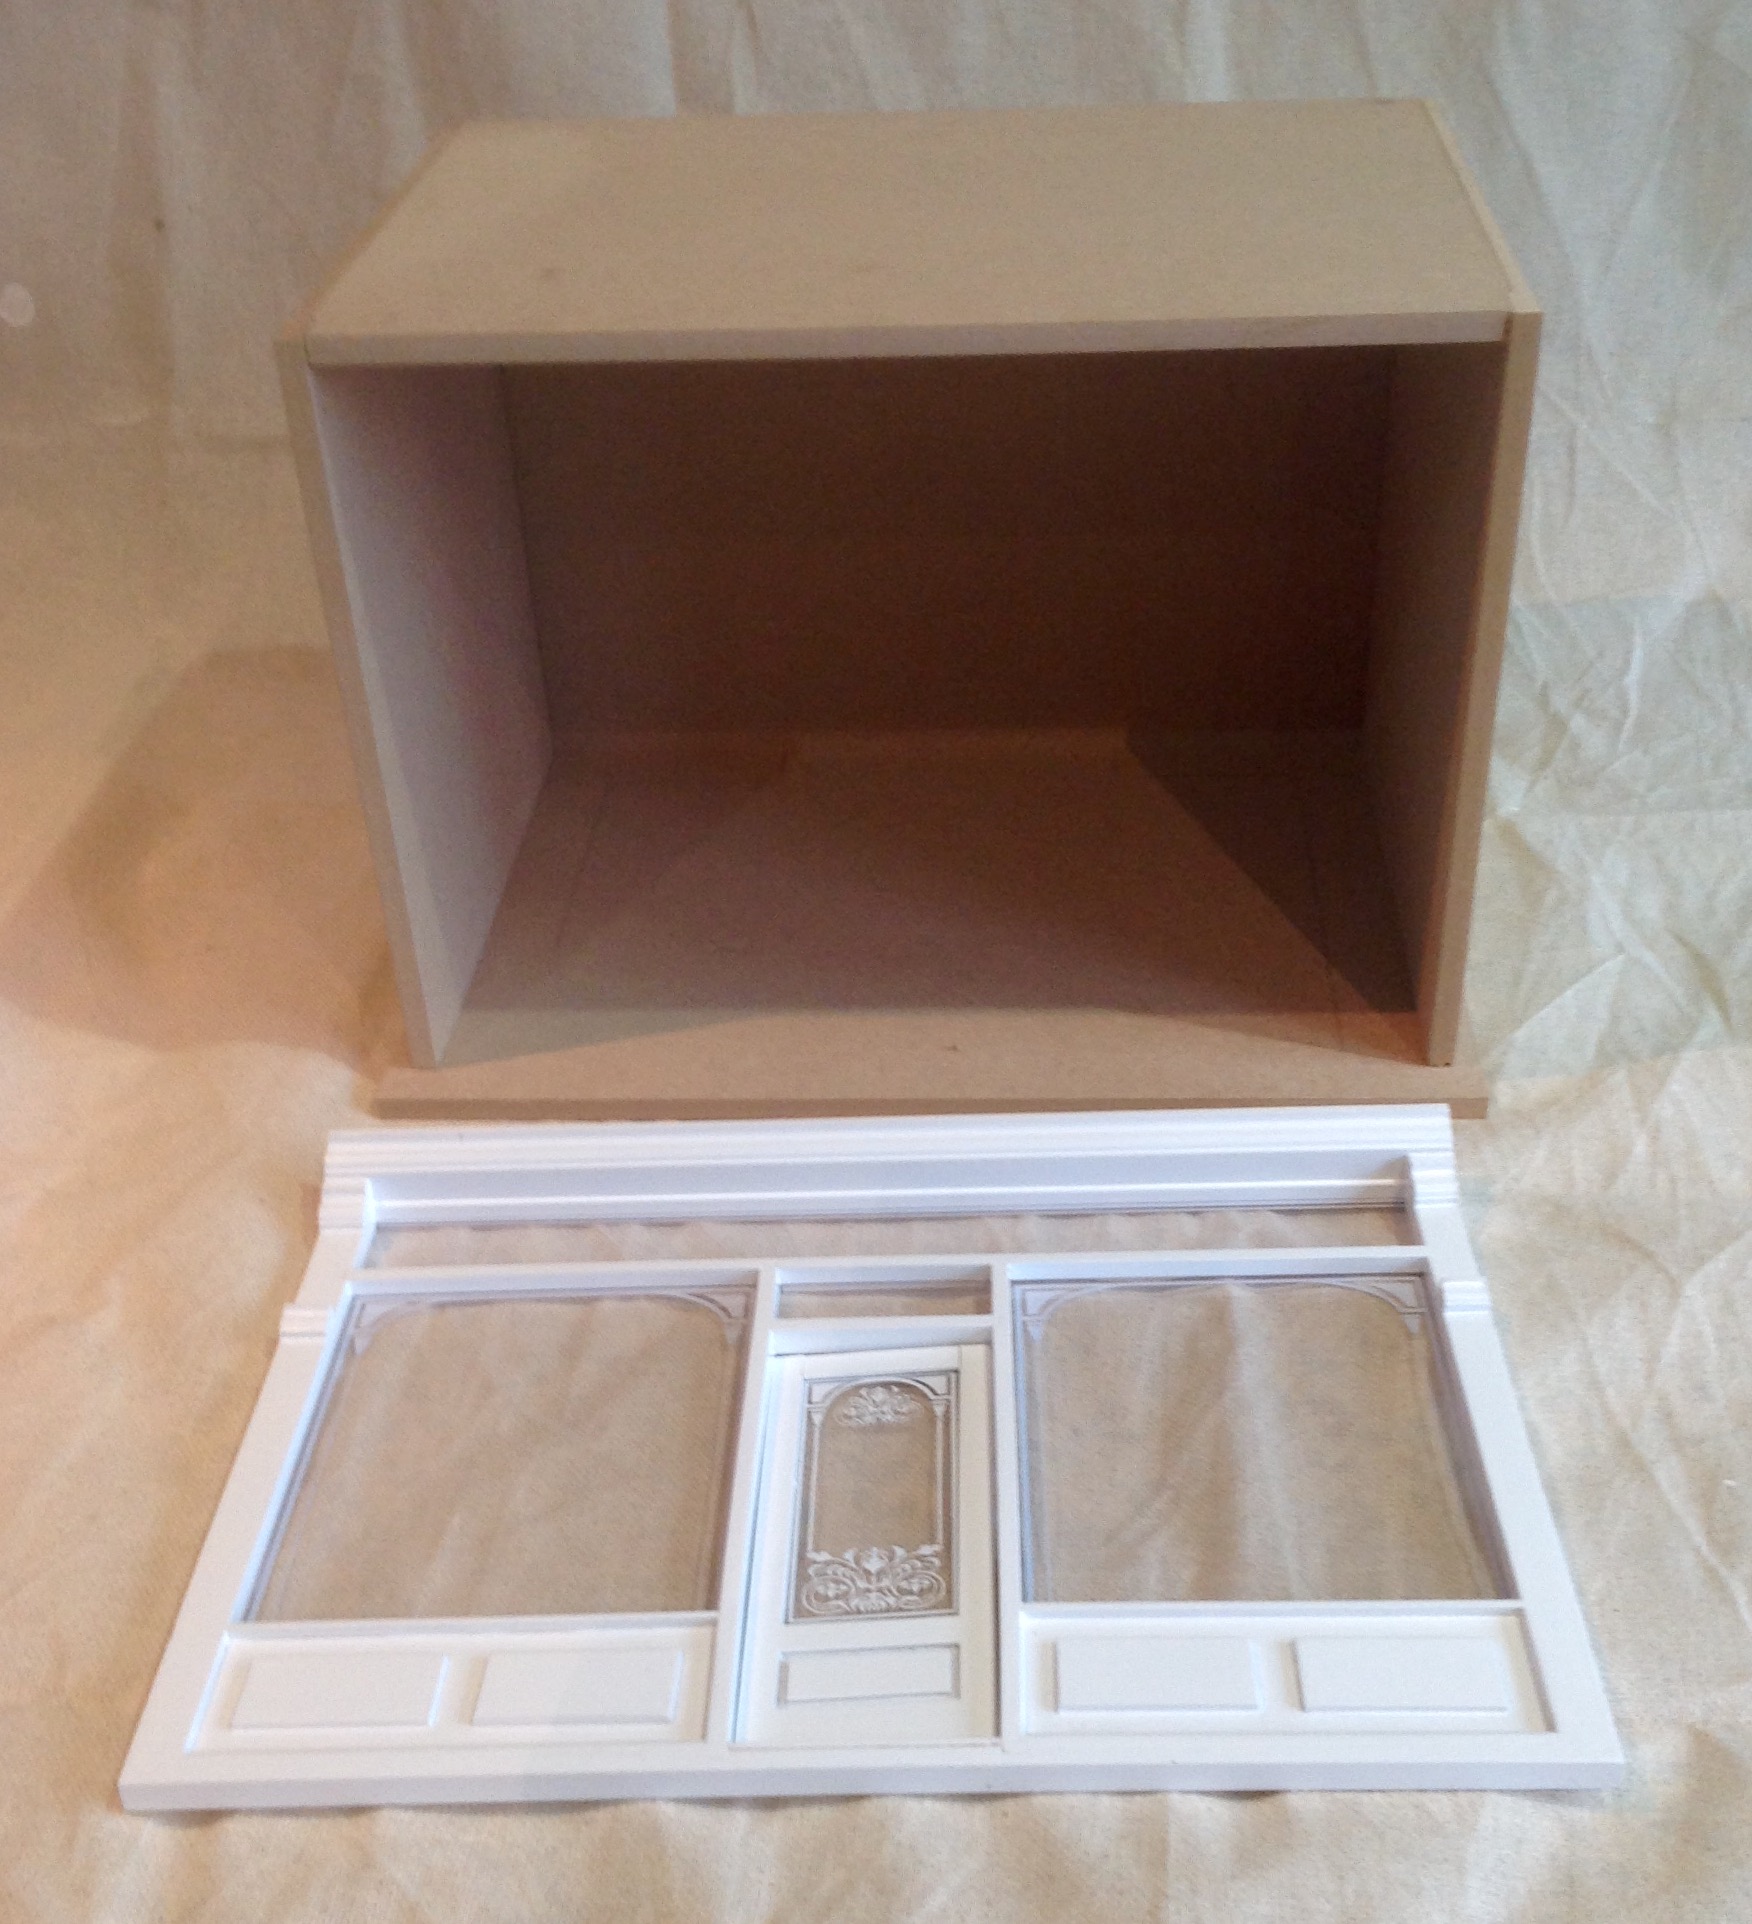
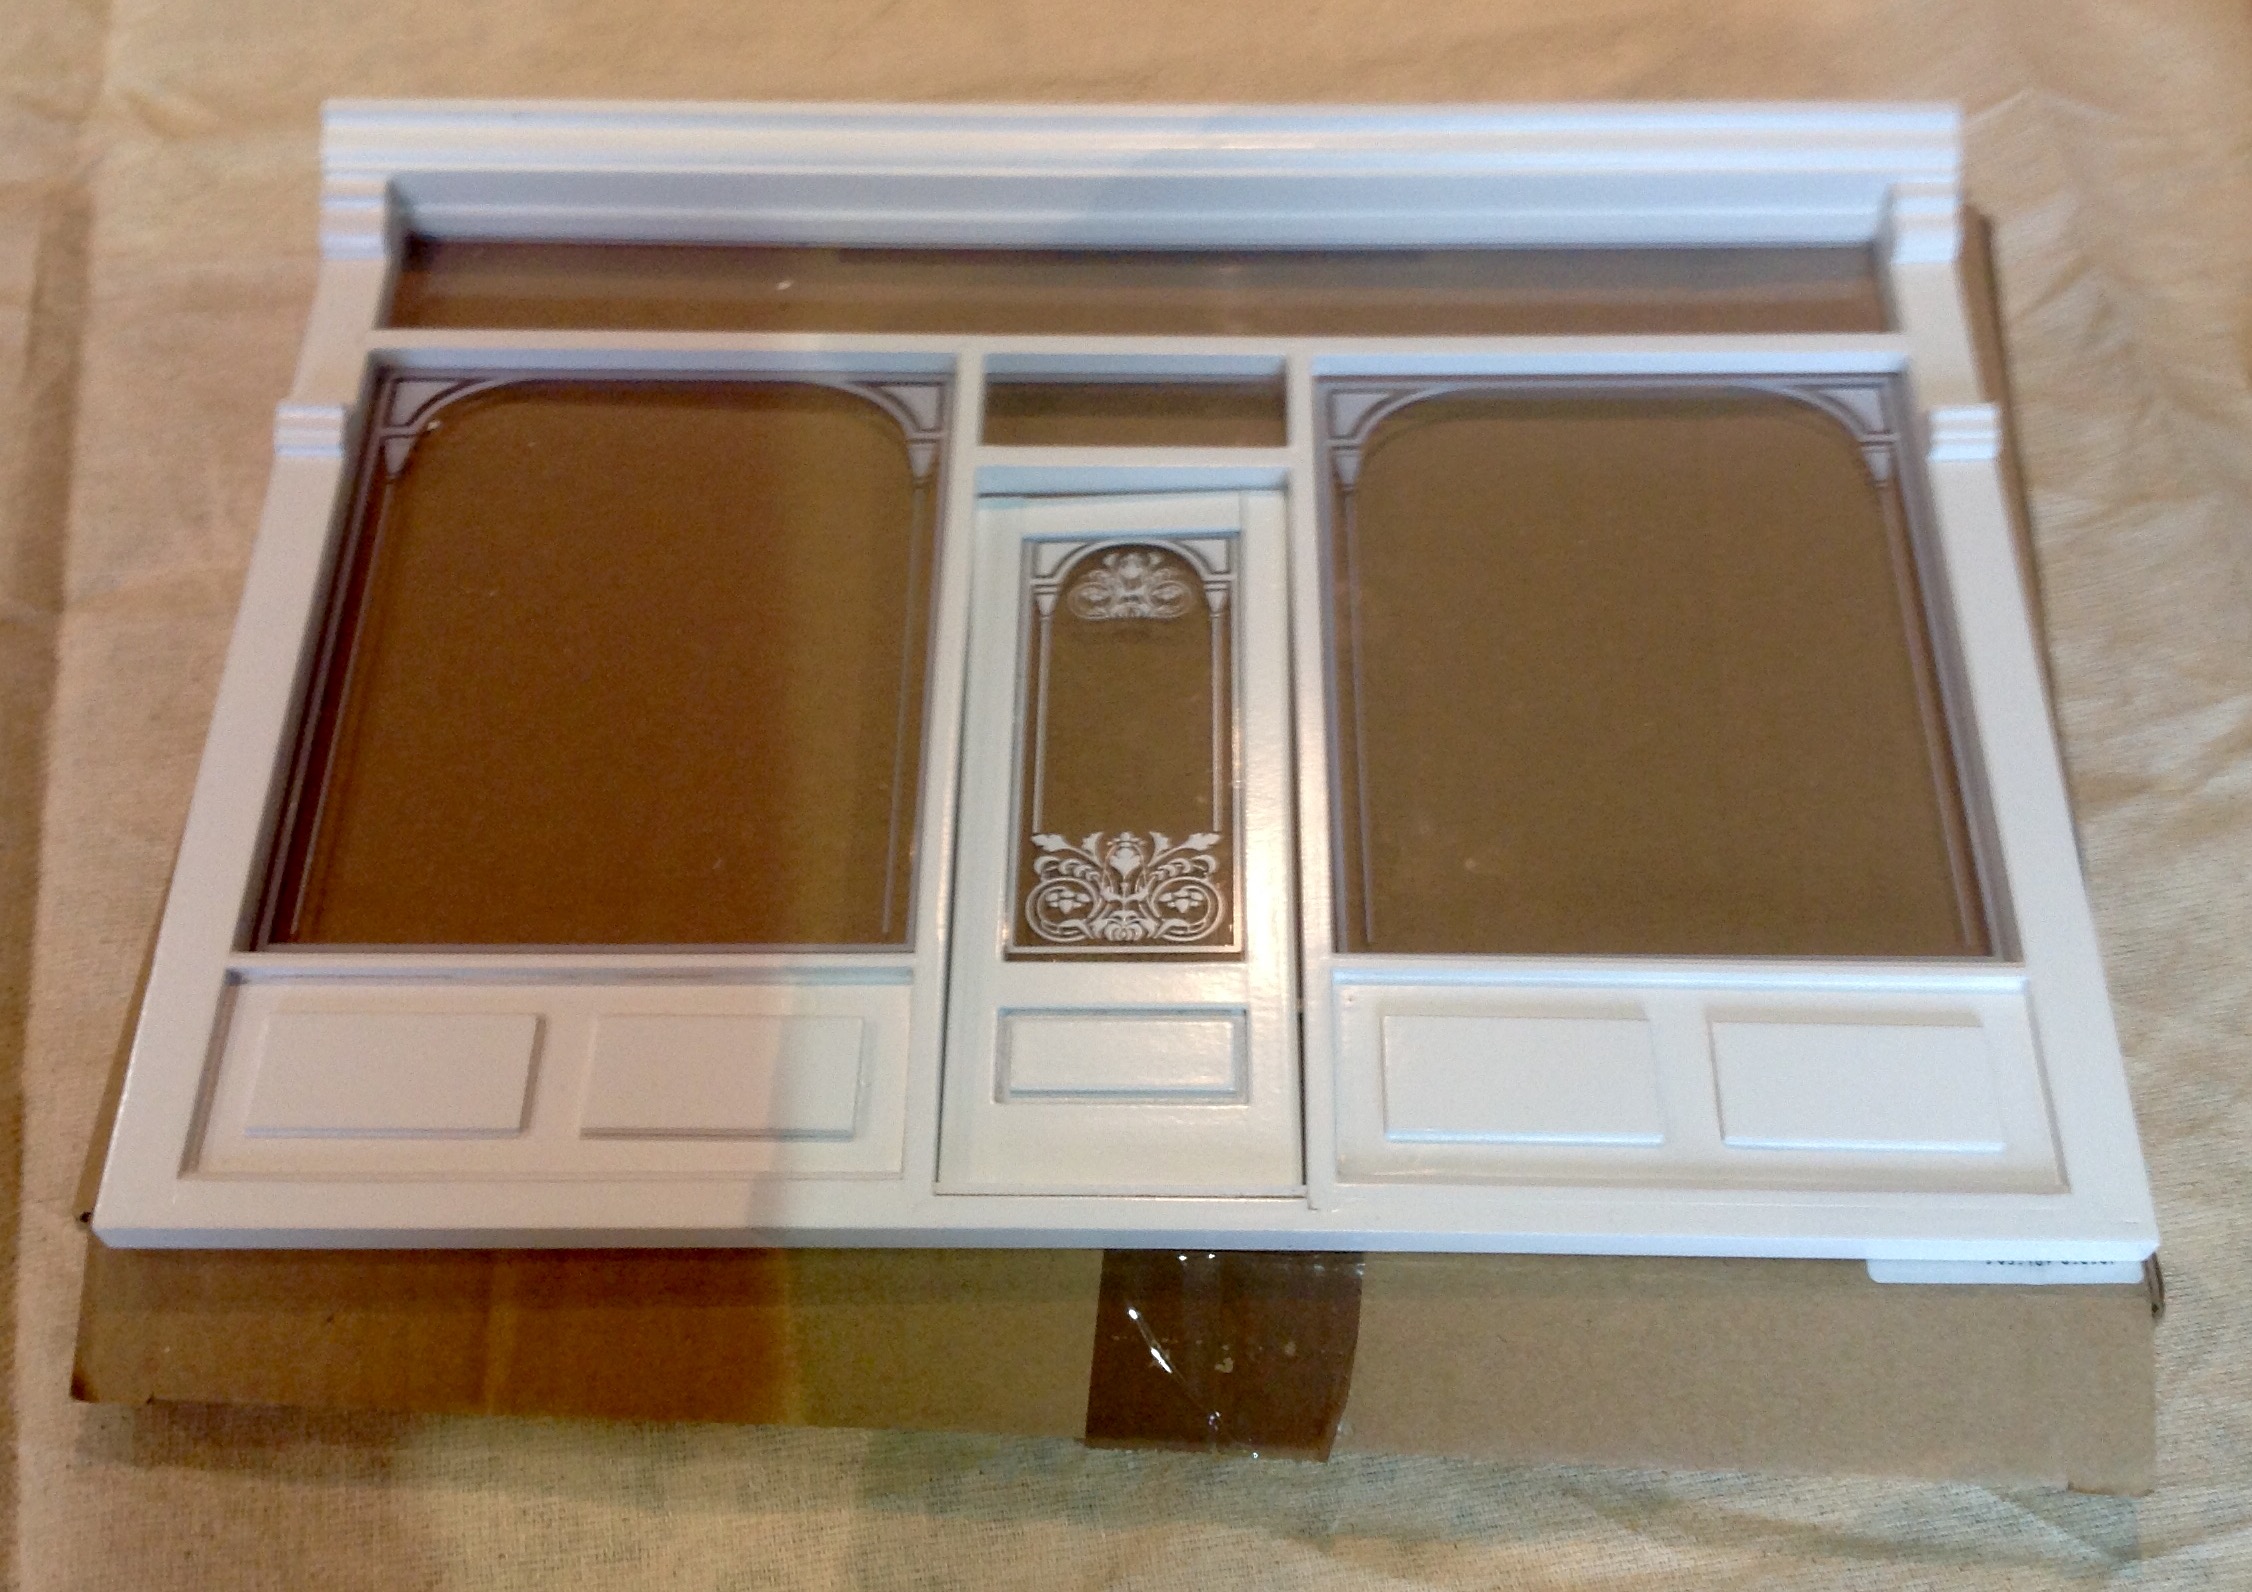
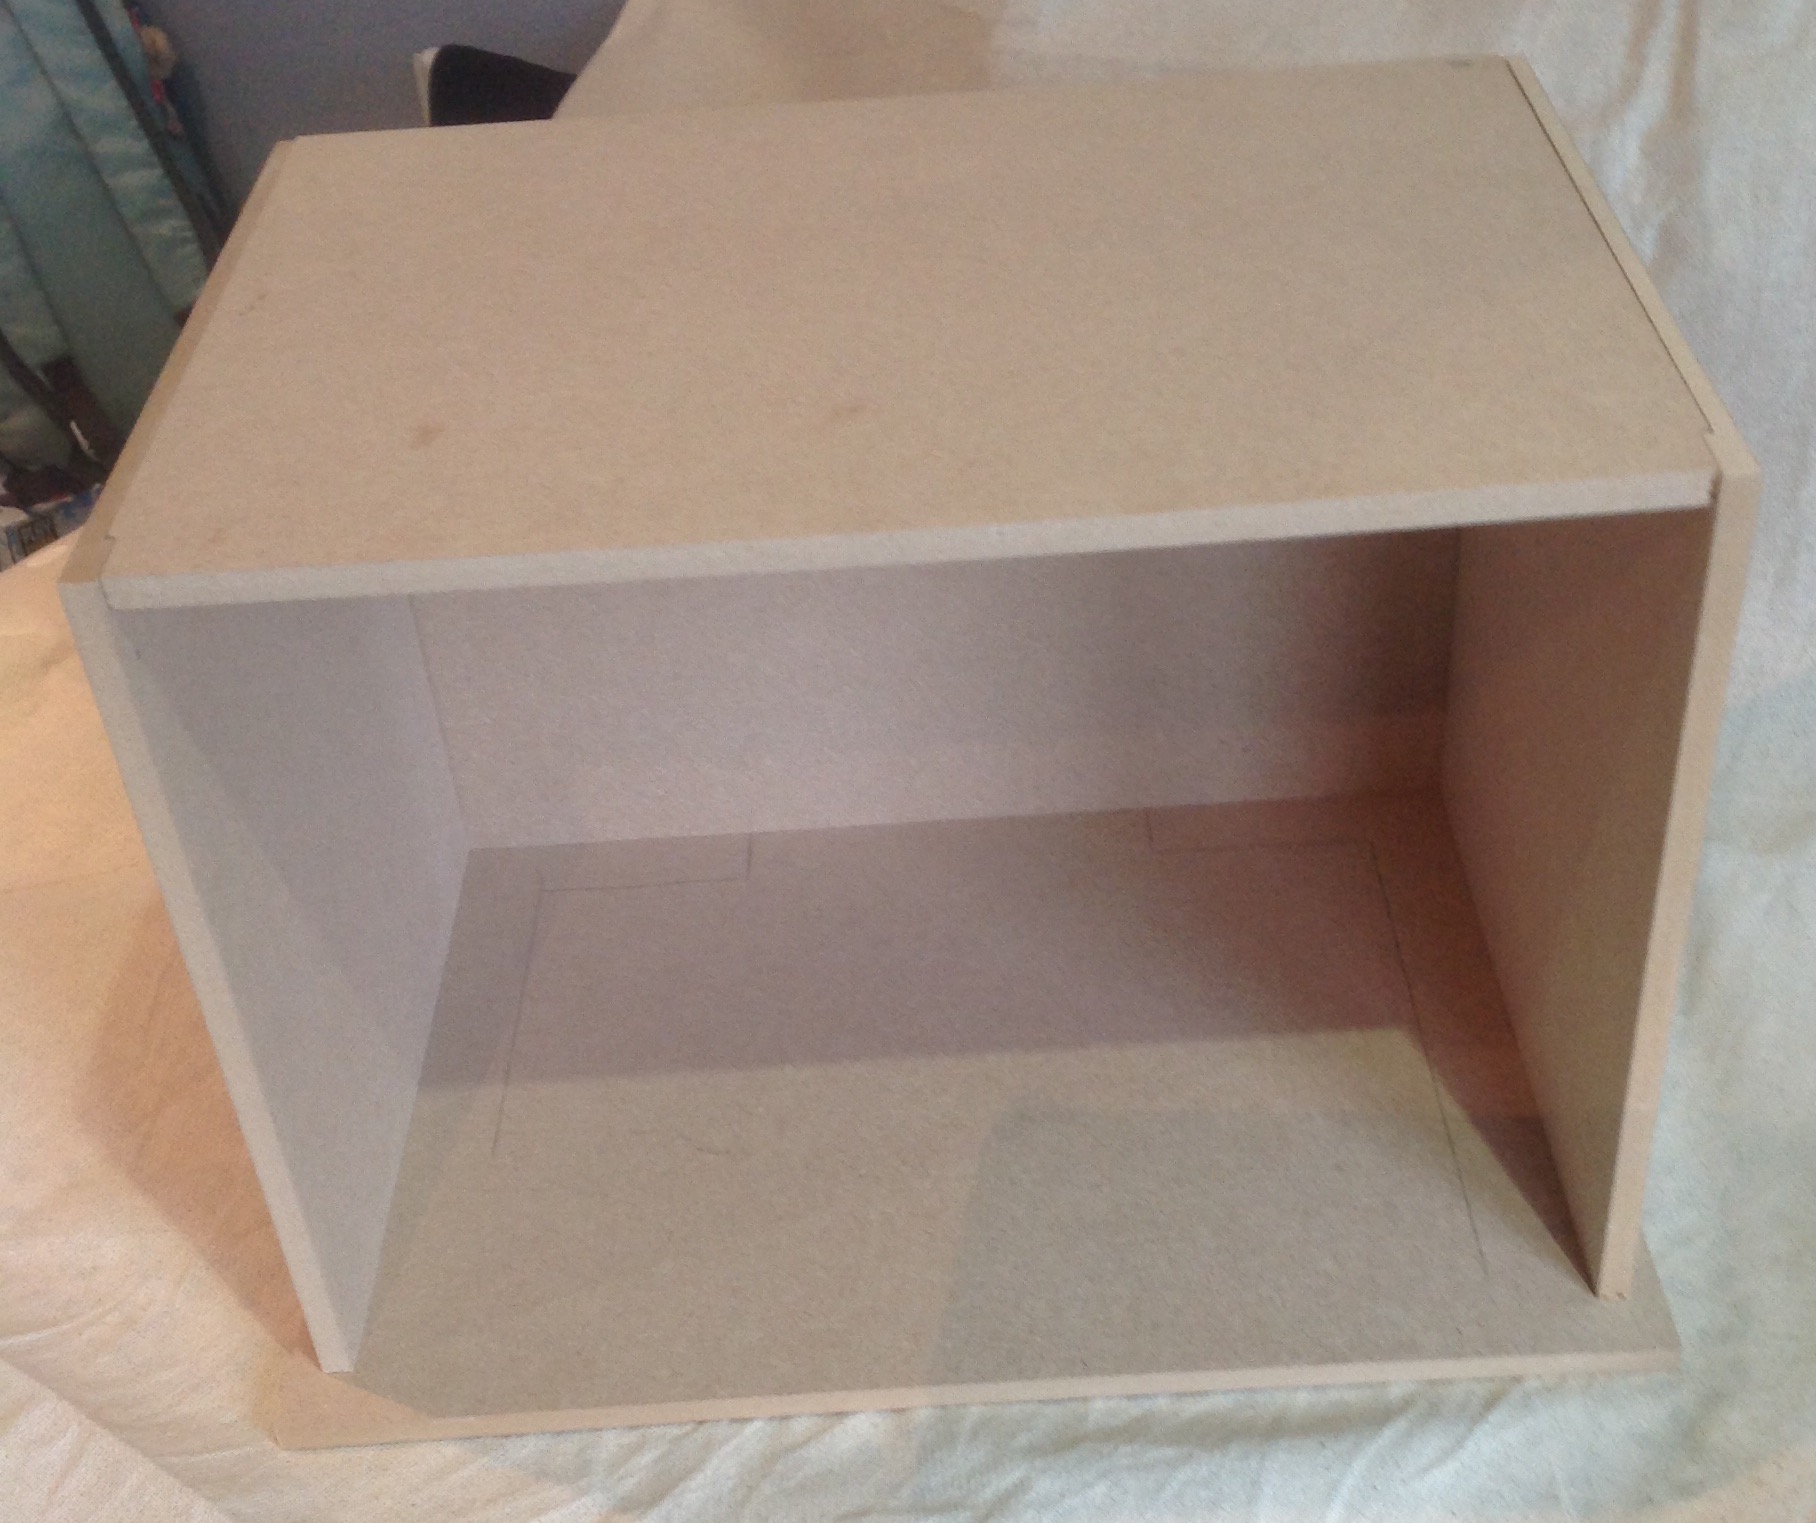
Having learned the lesson while decorating my first Dollshouse, I plan to paint the exterior, apply the wall and floor paper, paint the ceiling and prepare the lighting before I permanently fix the box together.
Putting the shop front aside for now, I began by applying two light coats of paint to the exterior walls of the box. I used regular household paint in ‘polished pebble’ (a very light grey) which was left over after doing some full sized redecorating at our home.
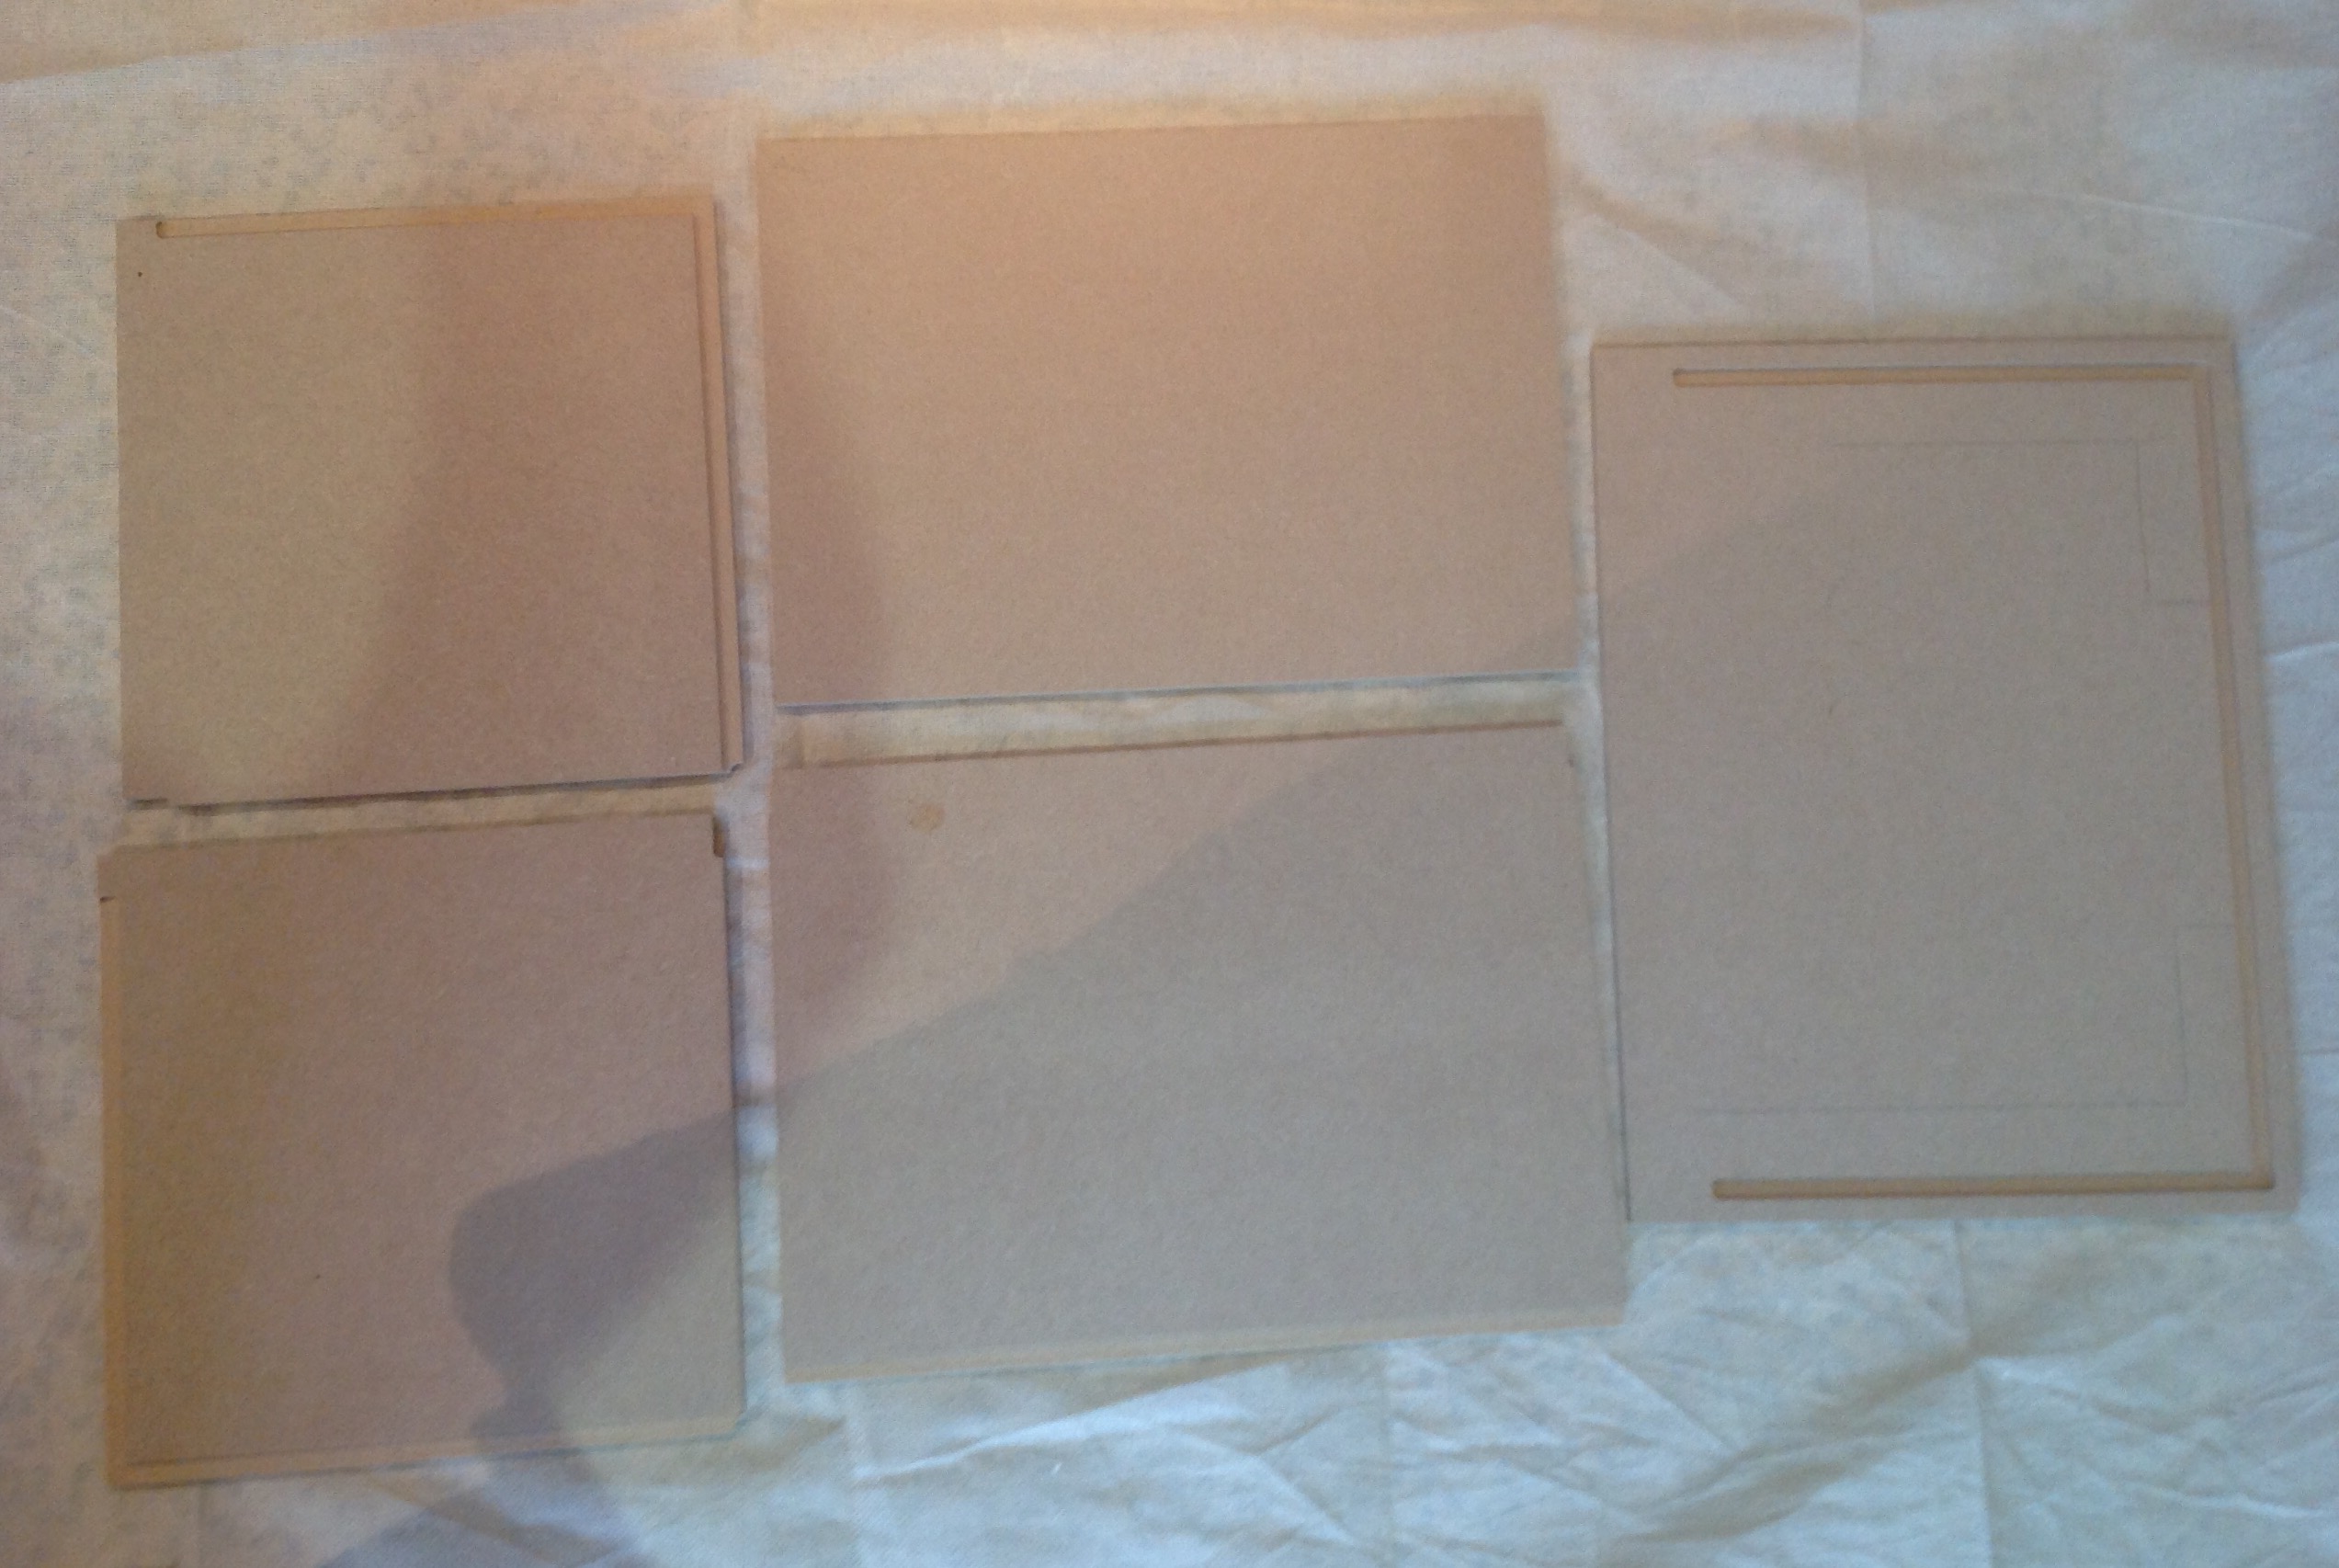
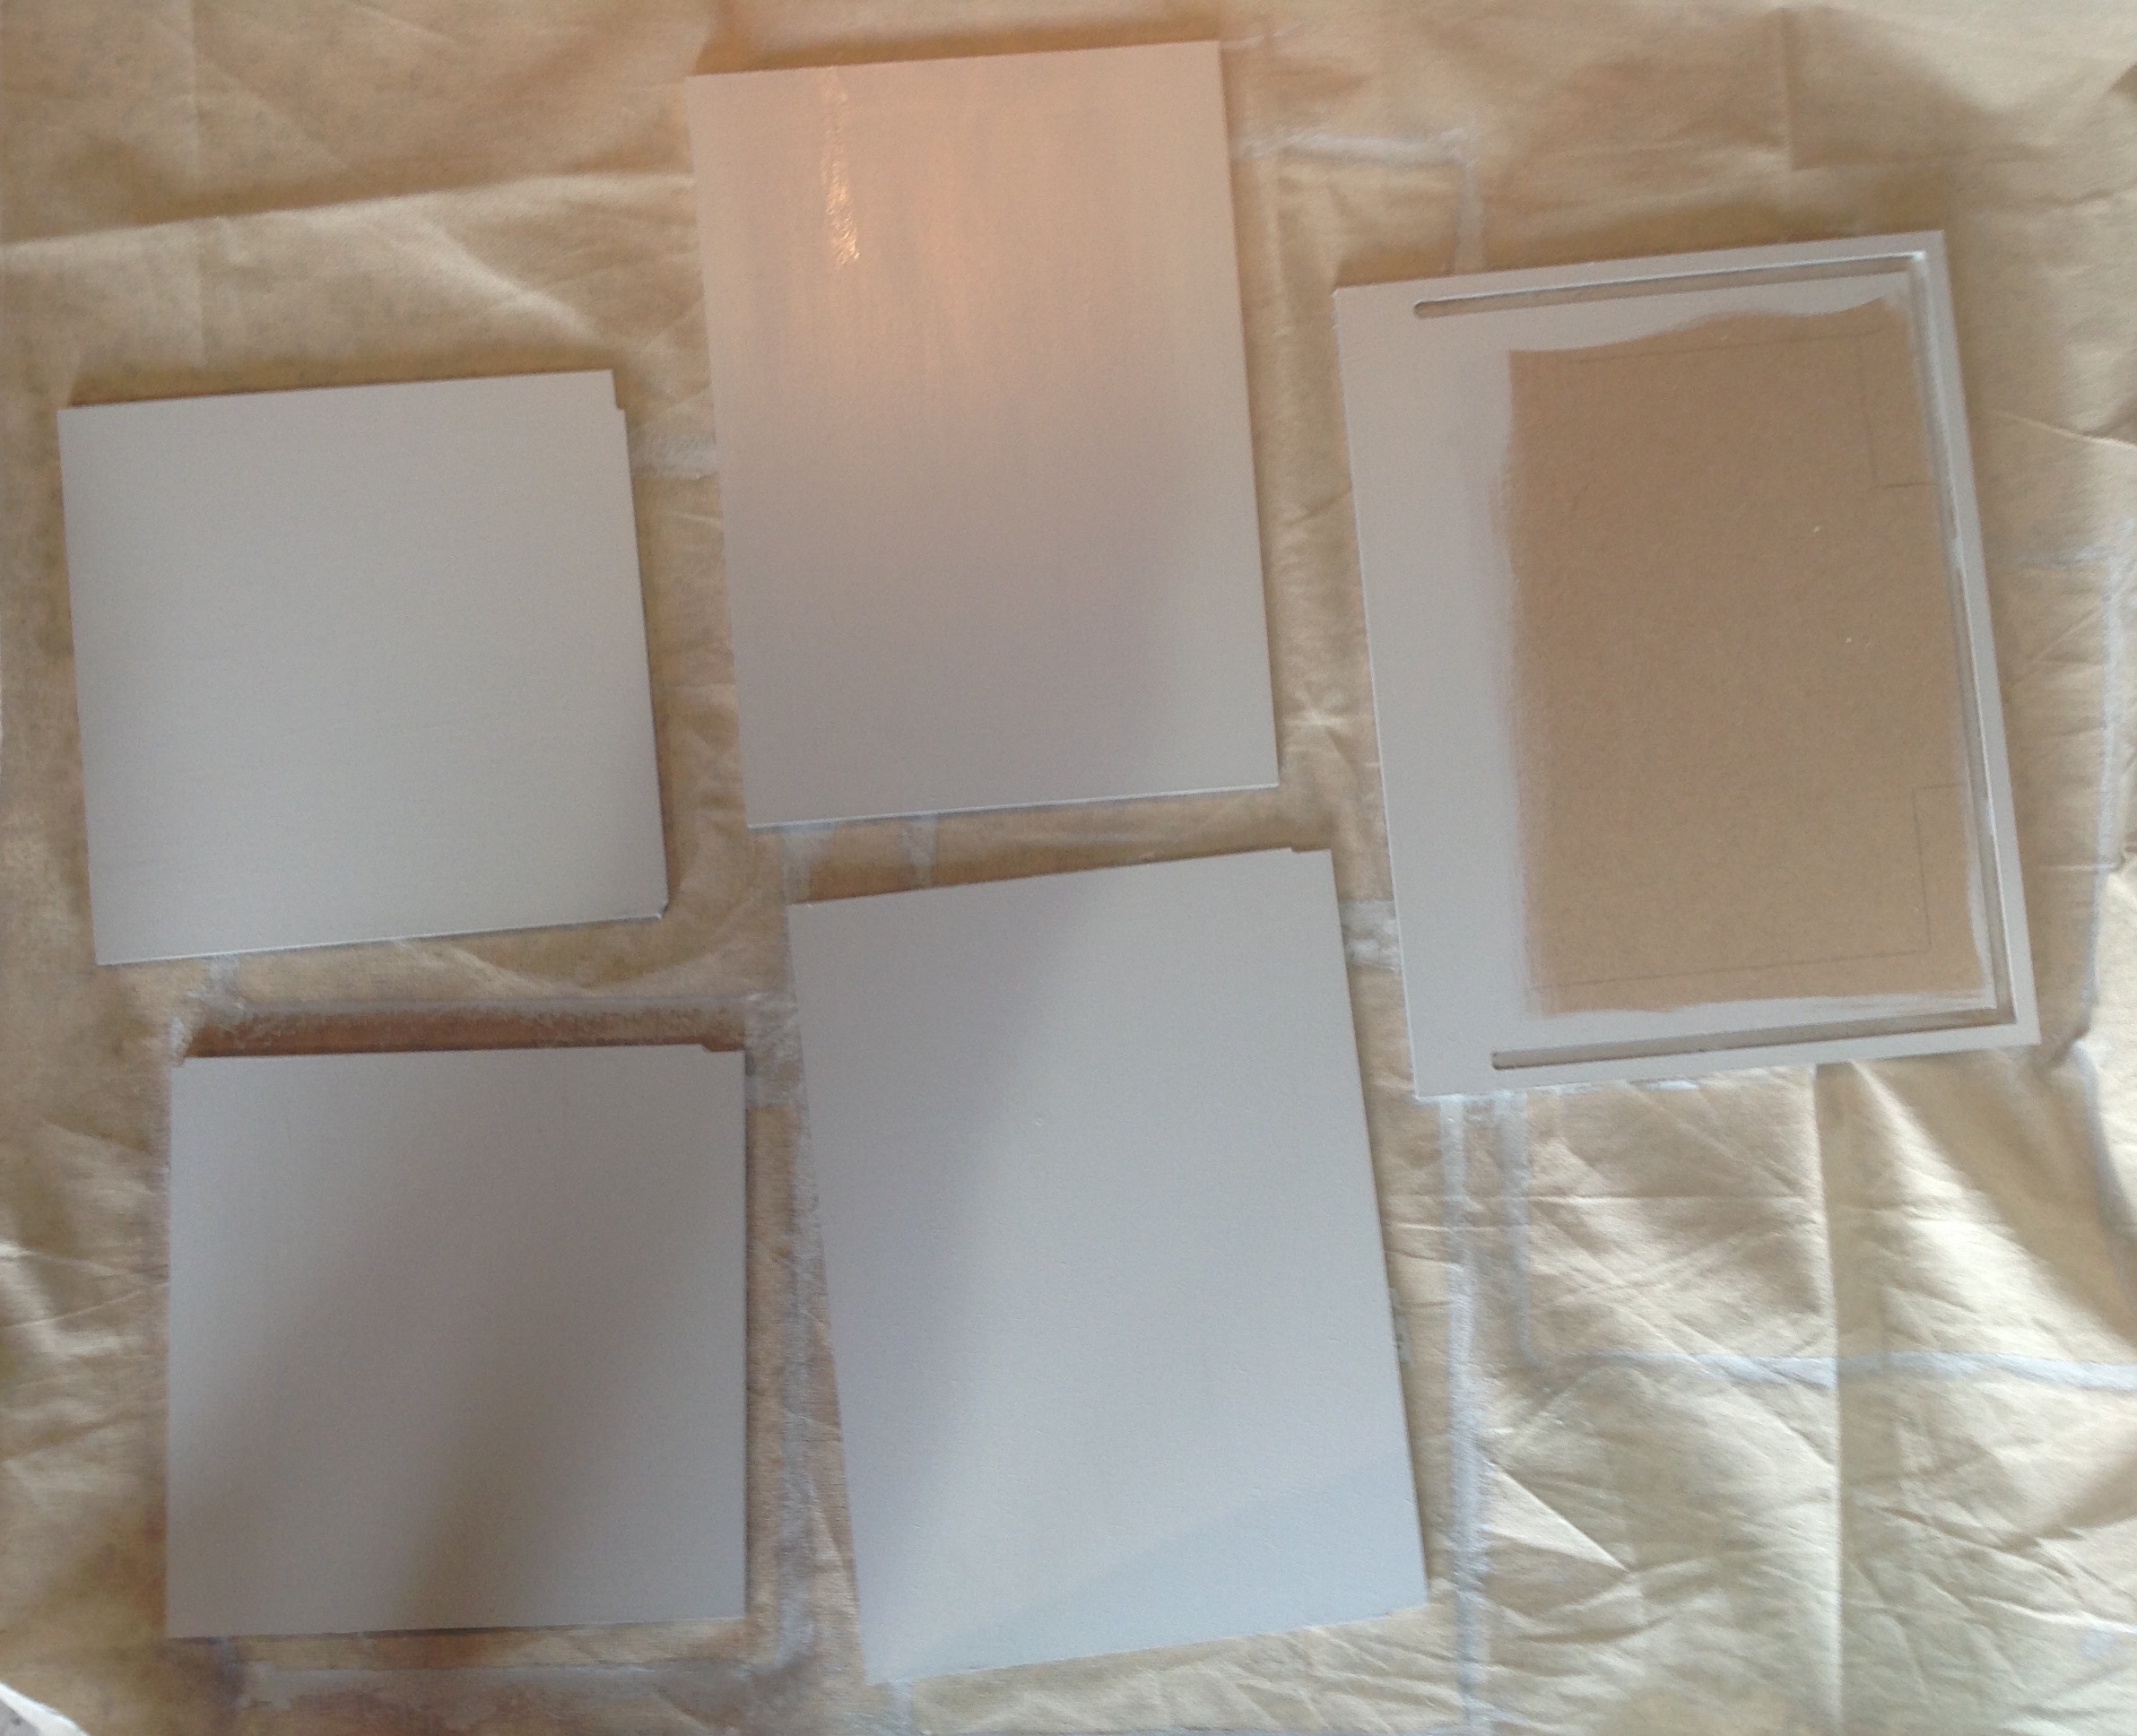
I didn’t bother to paint the whole surface of the floor section as only the edges will be visible. Most of the floor panel will be covered in a wooden floor board effect paper that I will glue on later.
The next step…
The interior: apply the floor board effect paper and wallpaper. Base coat the ceiling & prepare for light fixtures.
Let there be light…
I wasn’t brave enough to attempt wired lighting in my first Dollshouse project so this time I want to give it a go. While doing some preparation, I came across a really helpful article on the Dollshouse Parade website about lighting in dolls houses.
Read the article here: http://www.dollshouseparade.net/lighting-tips.html
Their expert Dollshouse builder, Dave ‘Dusty’ Caswell provides some excellent advice and useful tips such as:
- It is much easier to plan out where lights will go, then drill & make grooves/channels for the wiring before the house is assembled.
- To find the centre of a room simply draw a diagonal line from one opposing corner to another and then repeat between the other two corners. Where the lines cross is the centre of the room.
- For ceiling lights you should drill two holes – one through the ceiling above where you want to hang the light and another out through the back wall of the house where you want the wire to exit.
- Dusty recommends running wires across a floor rather than a ceiling because it is easier to the hide wires under the floor covering Of the room above.
- Drill holes using a drill bit slightly larger than the wire – the smaller the holes the neater the job.
 Lindsay & Sons General Store
Oh, it’s making me really want to make another doll’s house. [but no time at the moment, my more recent hobby being to write a trilogy !!] I found it such fun and SO satisfying to do. Love the way you are keeping us up to date with each stage. Really envious ! Ha Ha !
LikeLike
I love how you describe writing a trilogy as a ‘hobby’ – more like a full time job! I just wish the light fittings would hurry up so I can glue the shop box together. It is currently perched on the kitchen table. Every time a boy child passes by & nudges a chair, the whole thing collapses on itself like a house of cards 😤
LikeLike
You are making me quite envious, I want to make another doll’s house !! No time at present, my more recent hobby of deciding to write a trilogy is taking up all the spare minutes ! I love the way you are keeping us up to date with each stage.
LikeLike