The outside of the room box has had two coats of pale grey paint. So I began work on the interior.
The floor
I had already painted a rough border around the outside edges of the base panel as this will be visible as part of the exterior of the shop. As shown below…

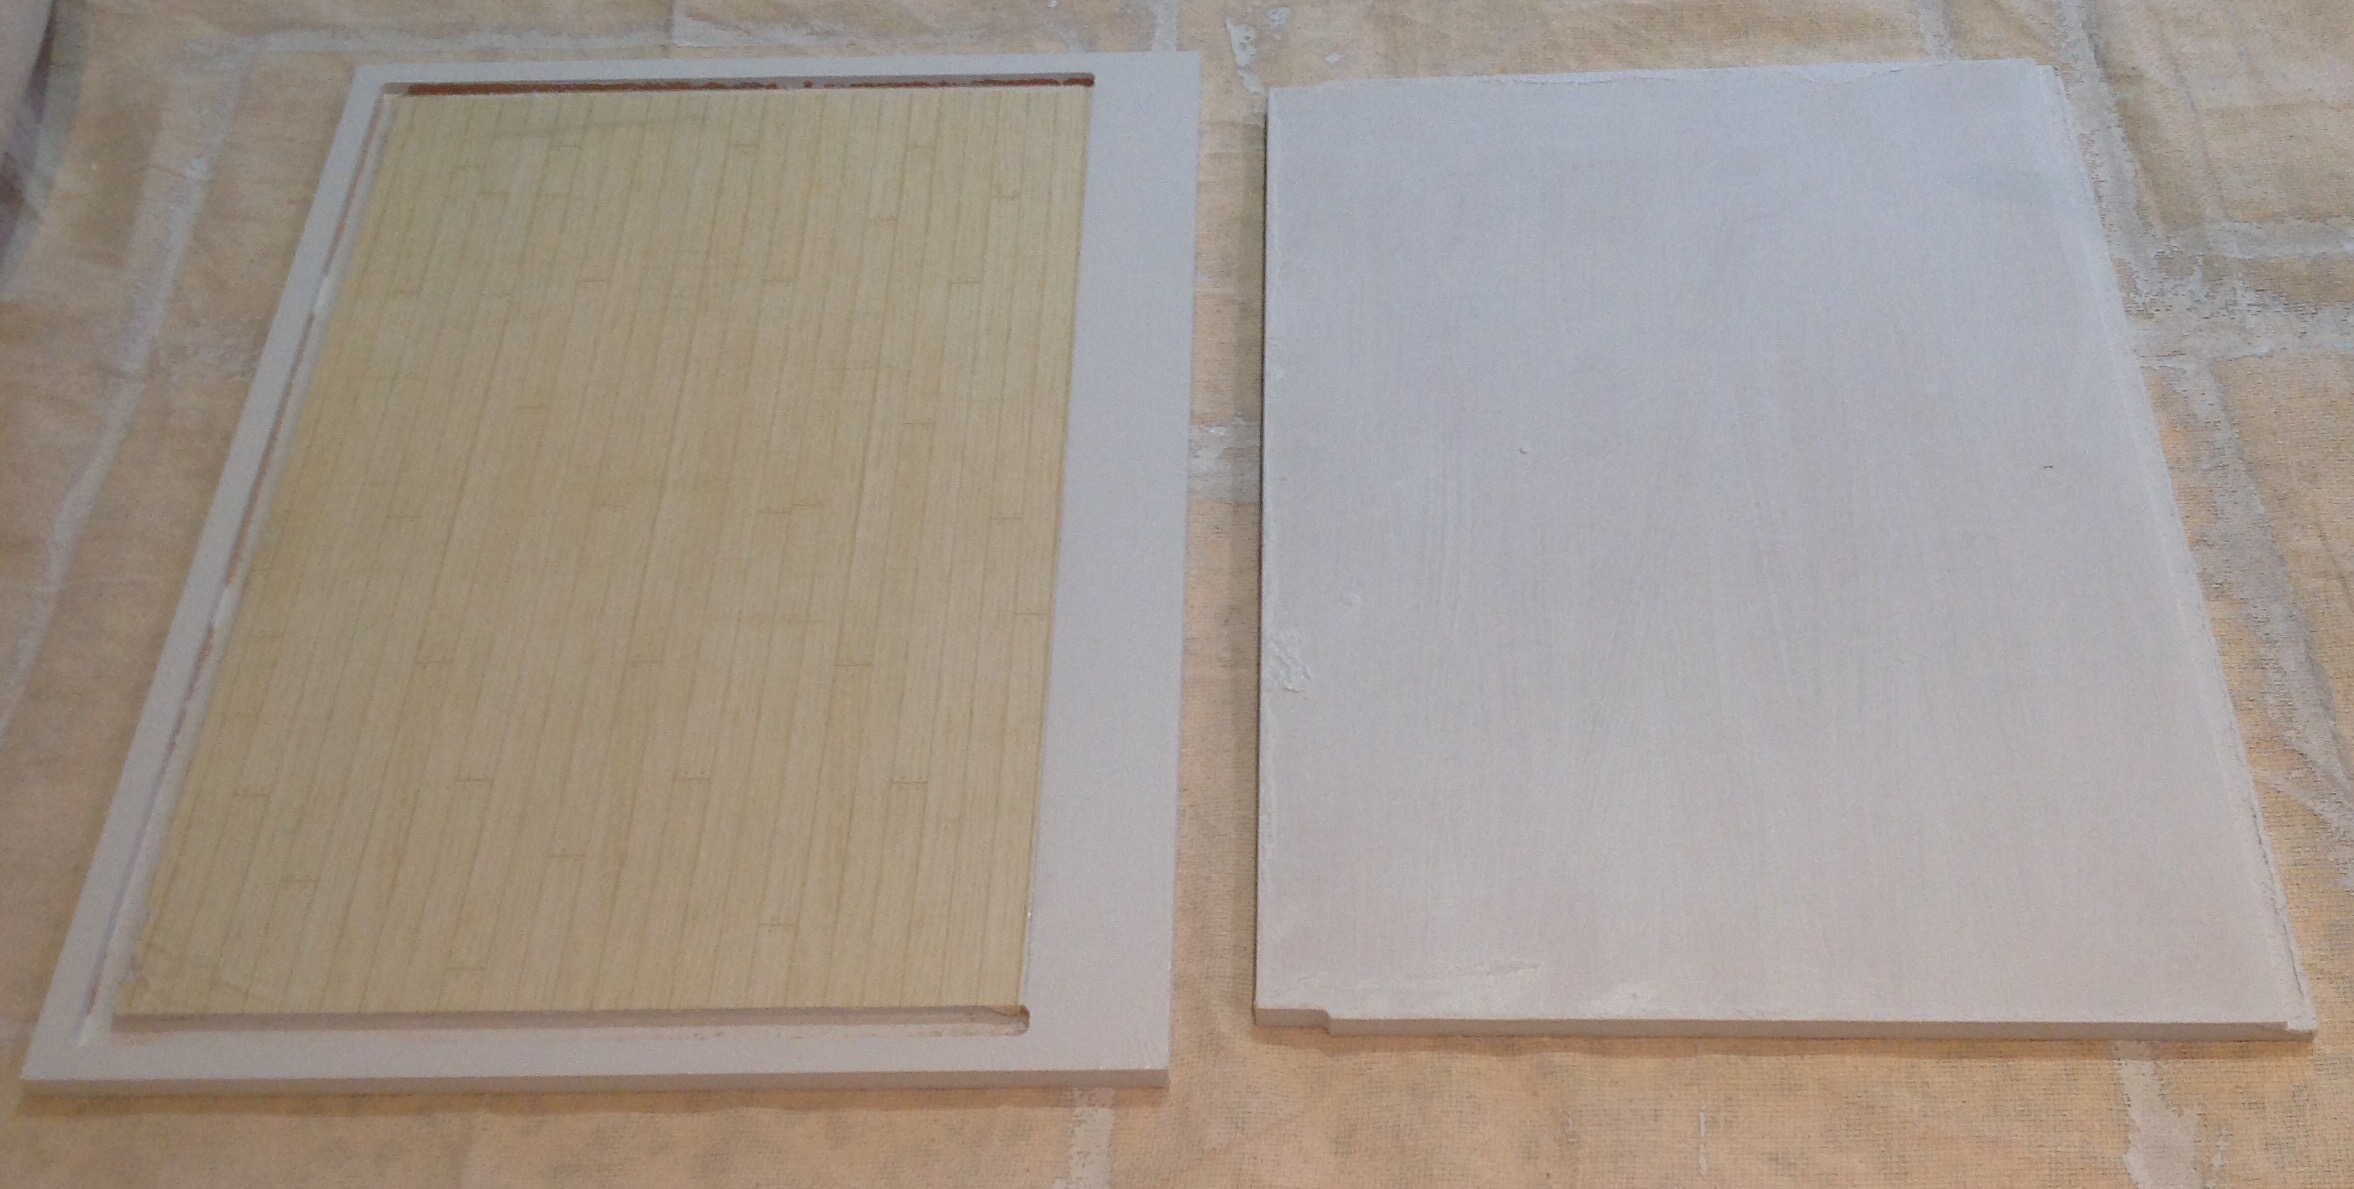
I glued the floor covering to the base of the room, making sure the straight edge of the paper was lined up with the end of the wall slots in the base. This saves trimming off excess & gives a very neat straight finish along the visible front edge.

Once it was nearly dry, I trimmed off the excess with a sharp knife. I chose a pale pine floorboard effect to keep the interior light. The flooring paper has a Matt finish, so I added a coat of watered down PVA to add a slight sheen and make the surface slightly more hard wearing.
The ceiling
The first job was to give the ceiling panel two coats of paint as a base coat. I used the same paint as the exterior because the tin was already open & it saved me washing the brush!
Once it was dry, I could get on with mapping out the route for the light wiring. As the shop is set in a room box – I don’t really want wiring showing on the top surface. For this reason, I plan to run the wiring across the inside of the ceiling. I will create a shallow groove to camouflage the wiring as much as possible, when viewing the shop face on.
Lighting … 💡
While window shopping on eBay, I spotted these lovely double shaded green ceiling lights & at the bargain price of £5.99, I had to have them.

I chose to buy two fittings so that each side of the shop will be evenly lit. This means that I will need to create 2 separate grooves to disguise the wiring.
In my last post, I recommended an article on the Dolls House Parade website which gives a handy tip on how to find the centre of the room when positioning your light fittings:
To find the centre of a room simply draw a diagonal line from one opposing corner to another and then repeat between the other two corners. Where the lines cross is the centre of the room
As I will be having two light fittings, I first divided the ceiling into 2 equal halves, then used the diagonal lines trick to find the central point in each half. Much quicker than measuring everything ten times!

After mapping everything out lightly in pencil, I used a mini craft drill to create grooves on the ceiling piece. After a quick rub down with sandpaper to remove rough edges, I added a final coat of paint to give a clean finish. Once the lights arrive, I will need to drill exit holes through the back of the box to allow me to connect the lights to a power source.
The walls
As I will probably end up finishing all the shop fittings in a dark shade, I was keen to choose light wall coverings. I found a simple (& inexpensive) calico striped wallpaper in a shade of sunny yellow. It has a patterned border along the top edge which will look nice above the wall shelving.


We now have flooring, a painted ceiling & wallpaper on the shop box walls. At this stage, I still haven’t permanently fixed the box together because the lights haven’t arrived yet! The wallpaper still needs trimmed along the edges, I will do this as soon as I find my craft knife (which is stored in such a safe place, that I can’t find it at the moment!😂)
Next steps…
Fitting lights & permanently fixing the shop box together.
 Lindsay & Sons General Store