Preparing the shop box – part 2: Interior

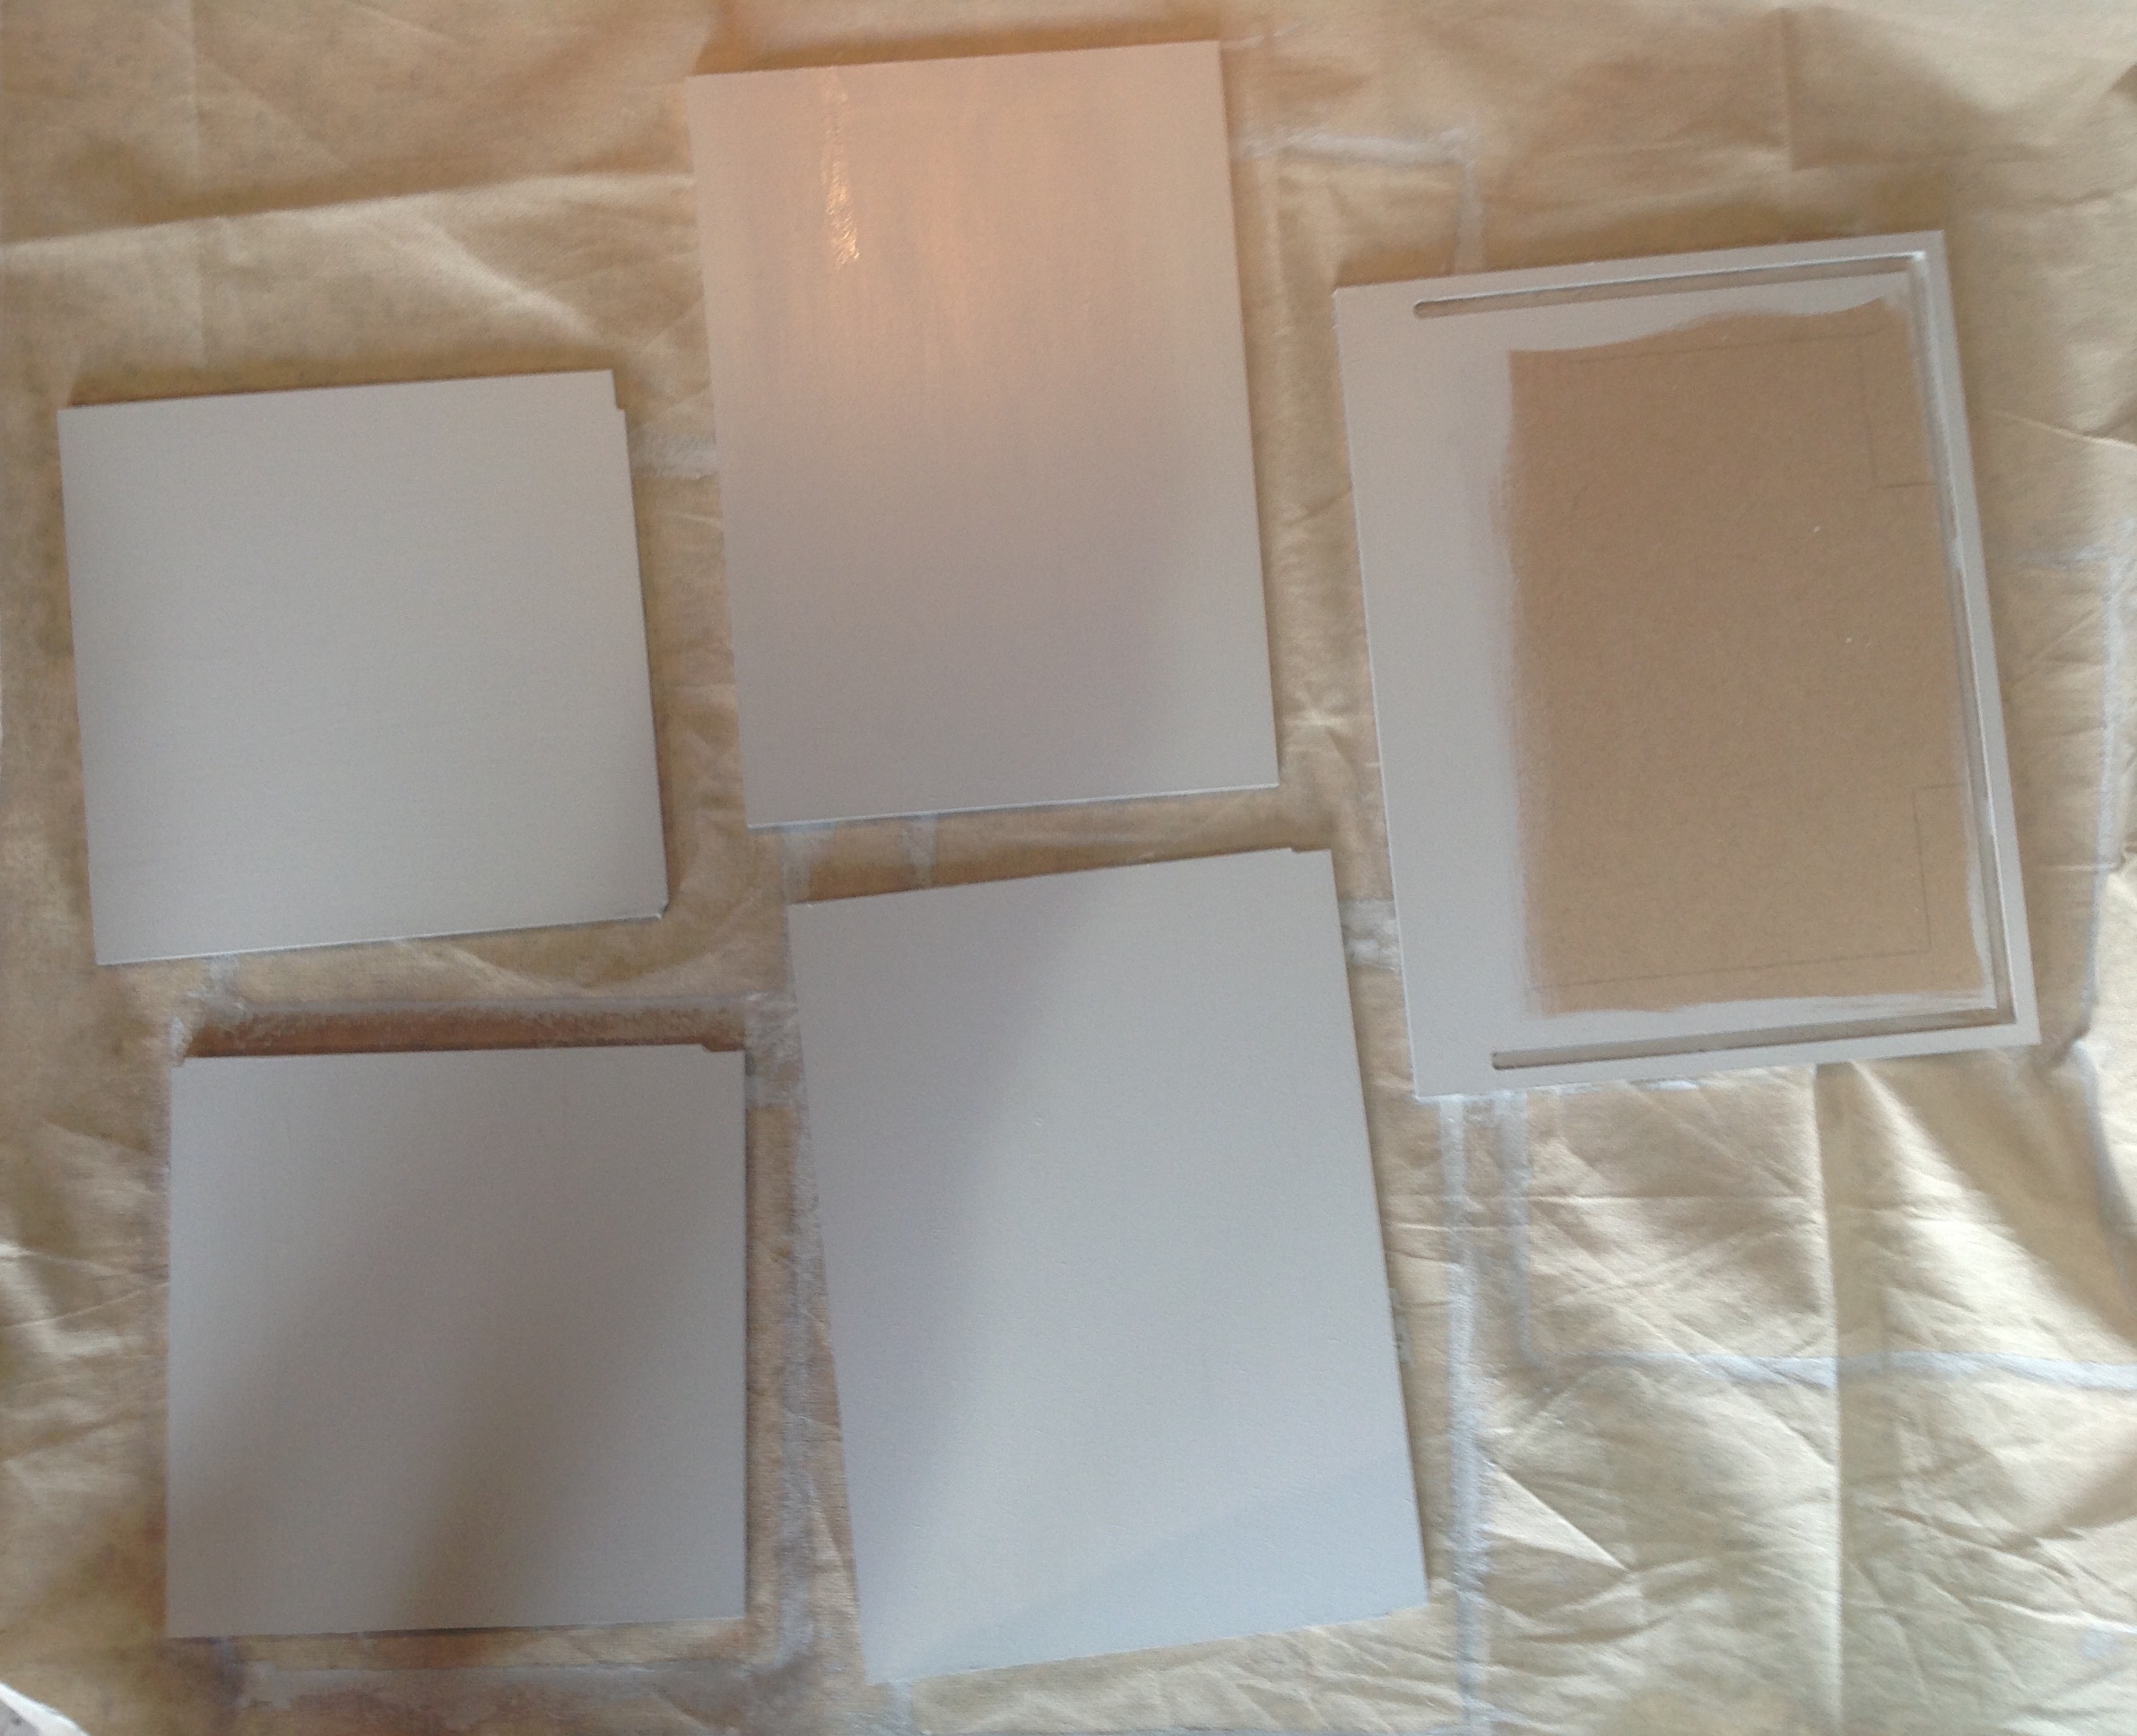
The outside of the room box has had two coats of pale grey paint. So I began work on the interior.

The floor

I had already painted a rough border around the outside edges of the base panel as this will be visible as part of the exterior of the shop. As shown below…

I glued the floor covering to the base of the room, making sure the straight edge of the paper was lined up with the end of the wall slots in the base. This saves trimming off excess & gives a very neat straight finish along the visible front edge.

flooring sample

Once it was nearly dry, I trimmed off the excess with a sharp knife. I chose a pale pine floorboard effect to keep the interior light. The flooring paper has a Matt finish, so I added a coat of watered down PVA to add a slight sheen and make the surface slightly more hard wearing.
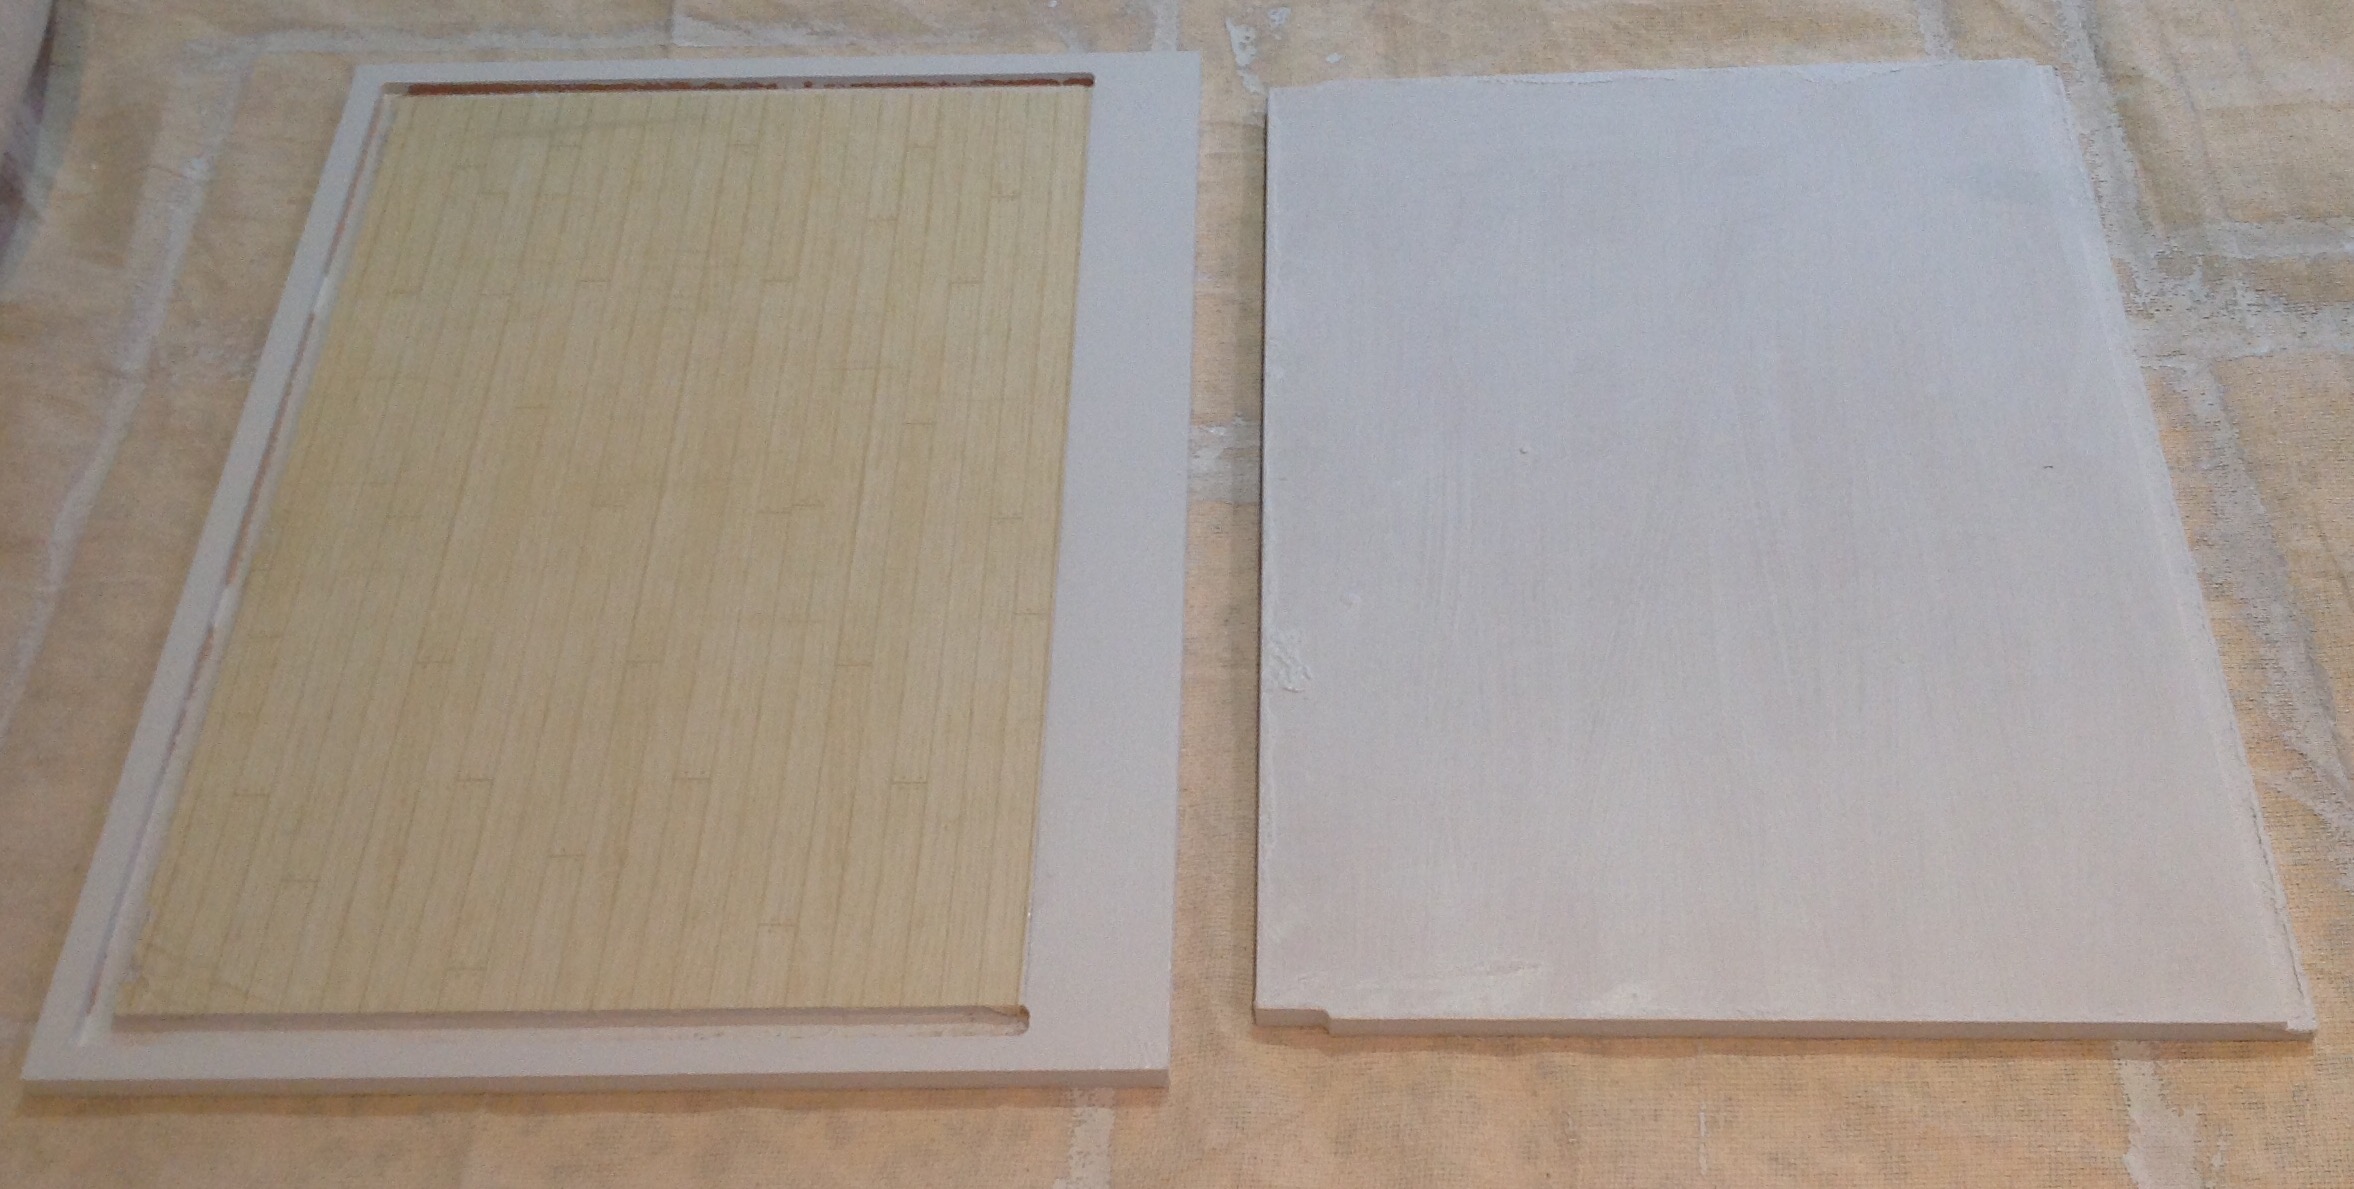
the finished floor & base coated ceiling

The ceiling

The first job was to give the ceiling panel two coats of paint as a base coat. I used the same paint as the exterior because the tin was already open & it saved me washing the brush!

Once it was dry, I could get on with mapping out the route for the light wiring. As the shop is set in a room box – I don’t really want wiring showing on the top surface. For this reason, I plan to run the wiring across the inside of the ceiling. I will create a shallow groove to camouflage the wiring as much as possible, when viewing the shop face on.

Lighting … 💡

While window shopping on eBay, I spotted these lovely double shaded green ceiling lights & at the bargain price of £5.99, I had to have them.

I chose to buy two fittings so that each side of the shop will be evenly lit. This means that I will need to create 2 separate grooves to disguise the wiring.

In my last post, I recommended an article on the Dolls House Parade website which gives a handy tip on how to find the centre of the room when positioning your light fittings:

To find the centre of a room simply draw a diagonal line from one opposing corner to another and then repeat between the other two corners. Where the lines cross is the centre of the room

As I will be having two light fittings, I first divided the ceiling into 2 equal halves, then used the diagonal lines trick to find the central point in each half. Much quicker than measuring everything ten times!

After mapping everything out lightly in pencil, I used a mini craft drill to create grooves on the ceiling piece. After a quick rub down with sandpaper to remove rough edges, I added a final coat of paint to give a clean finish. Once the lights arrive, I will need to drill exit holes through the back of the box to allow me to connect the lights to a power source.

The walls

As I will probably end up finishing all the shop fittings in a dark shade, I was keen to choose light wall coverings. I found a simple (& inexpensive) calico striped wallpaper in a shade of sunny yellow. It has a patterned border along the top edge which will look nice above the wall shelving.

We now have flooring, a painted ceiling & wallpaper on the shop box walls. At this stage, I still haven’t permanently fixed the box together because the lights haven’t arrived yet! The wallpaper still needs trimmed along the edges, I will do this as soon as I find my craft knife (which is stored in such a safe place, that I can’t find it at the moment!😂)

Next steps…

Fitting lights & permanently fixing the shop box together.

Browse the archives…

Find me on social media…

Preparing the shop box – part 1: Exterior

With the arrival of my chosen wallpaper and flooring papers yesterday, I have finally started the preparation of the shop box by painting the outside of the ‘building’.

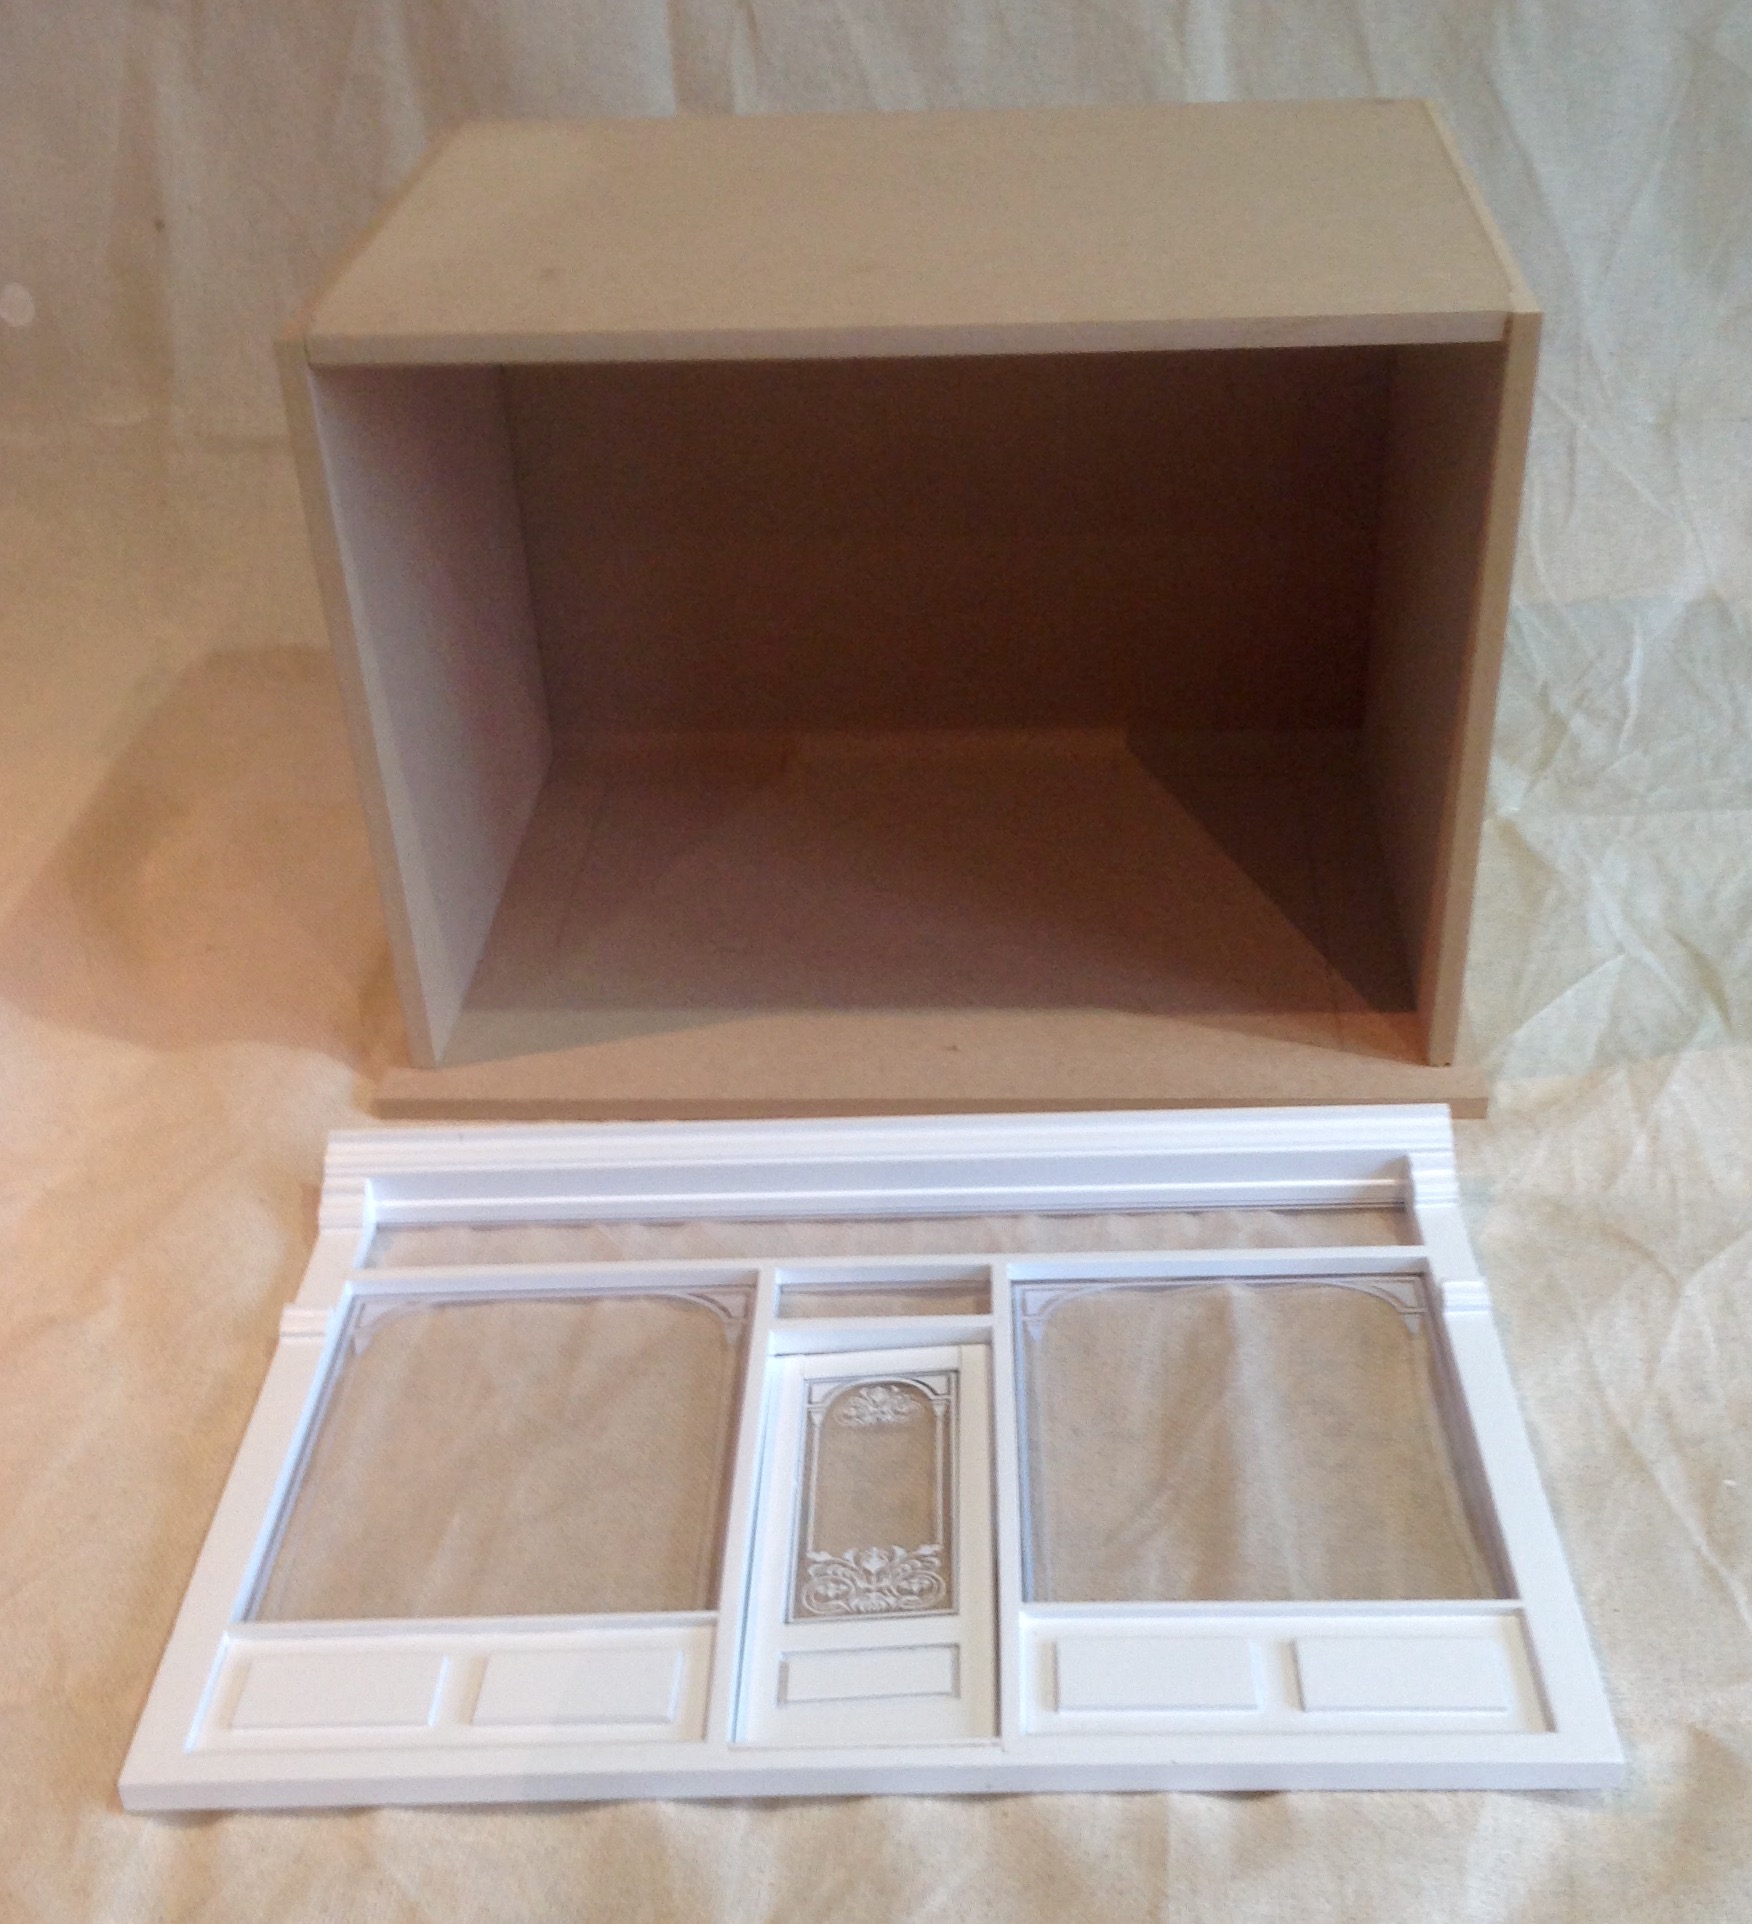
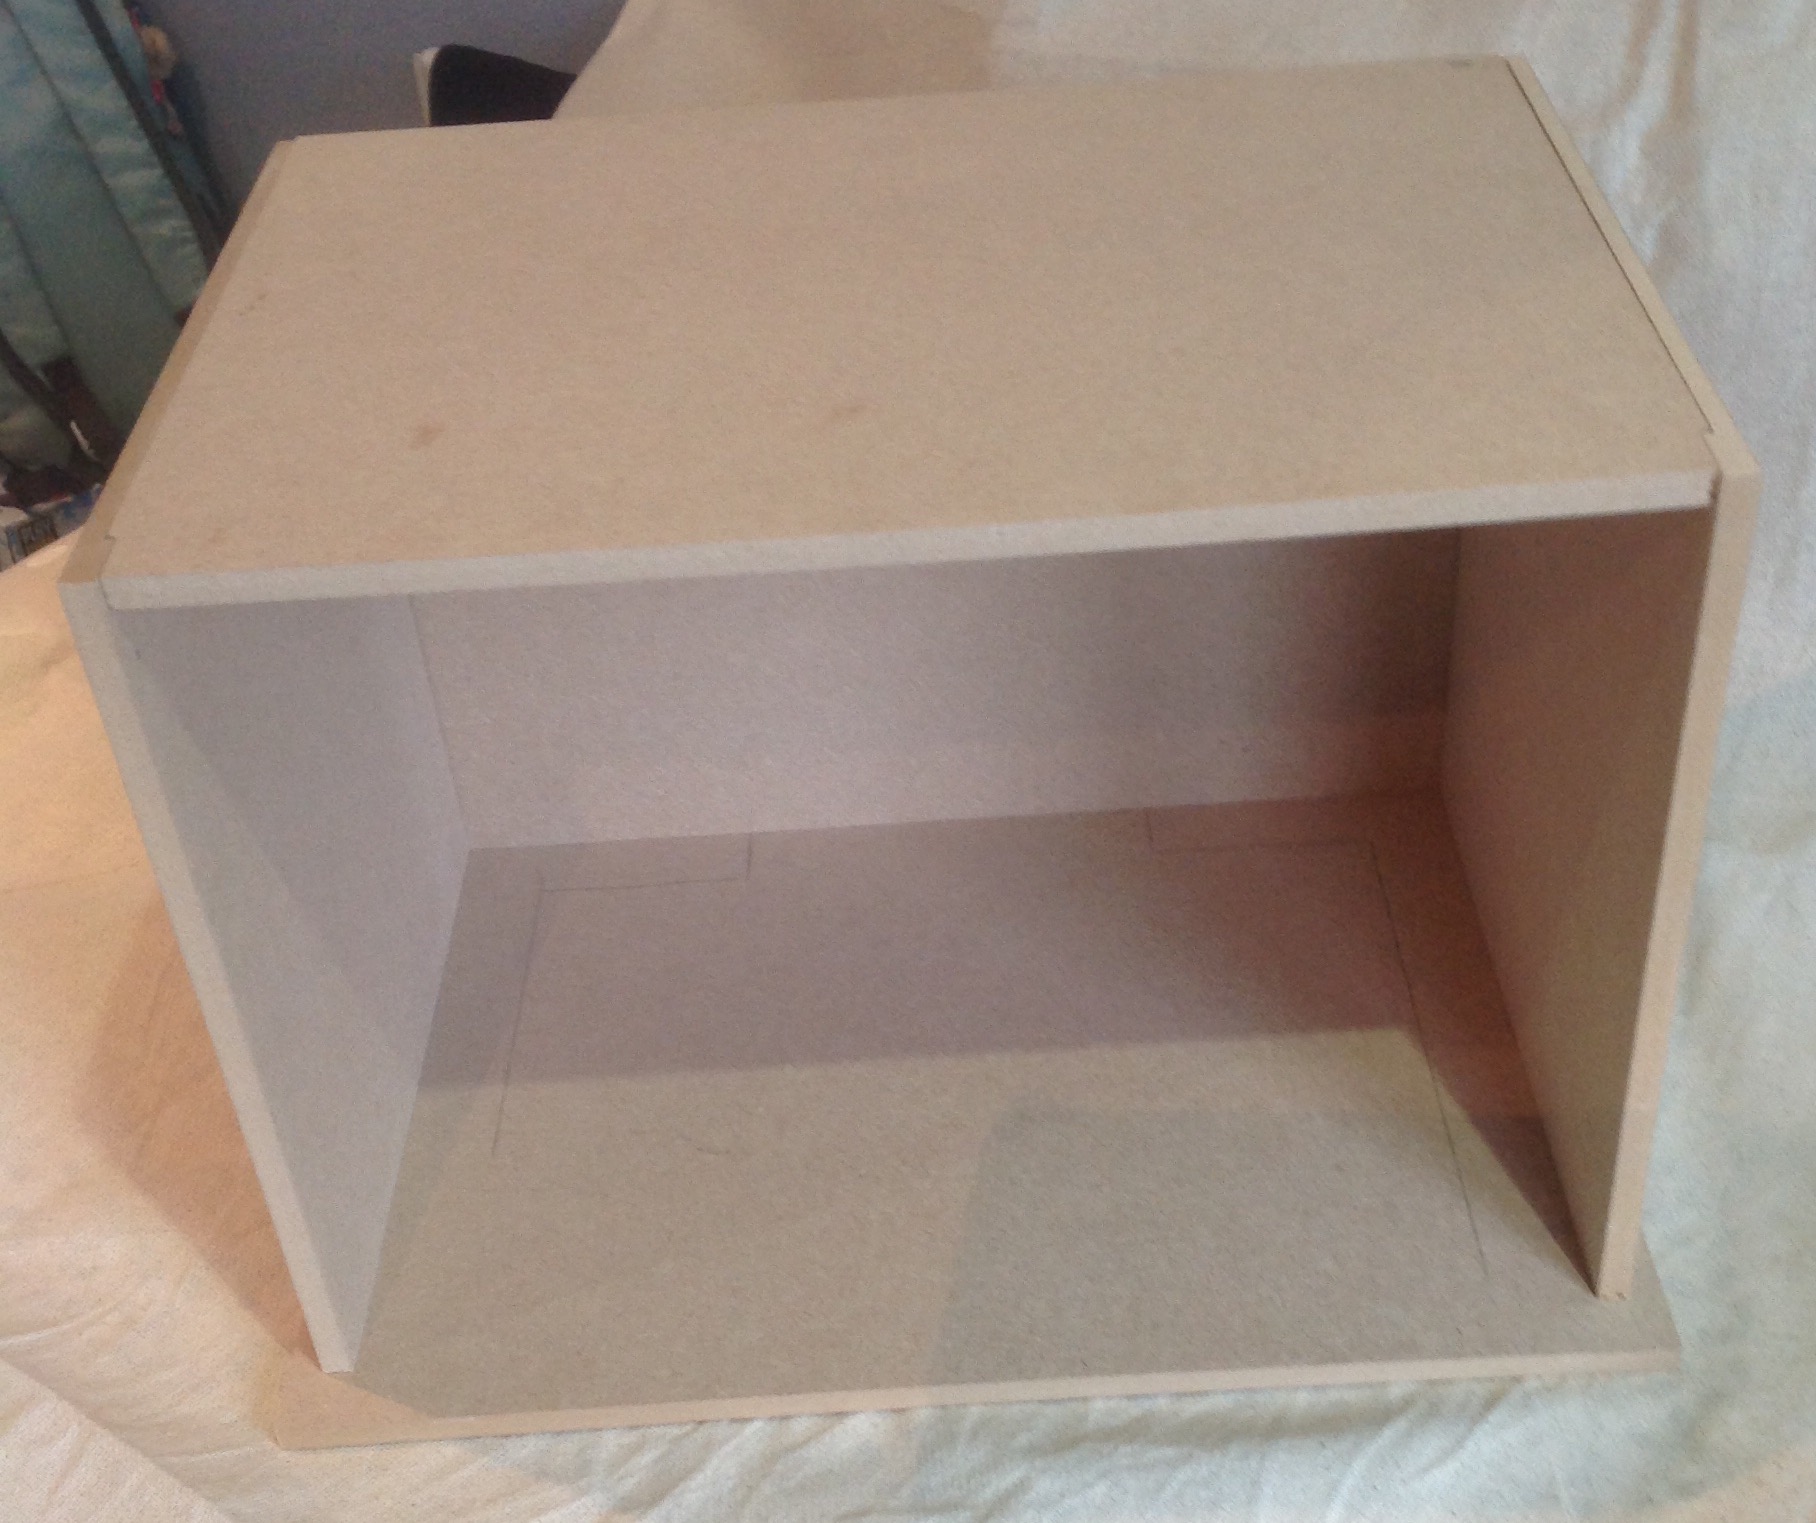
the component parts fitted together but not yet fixed into place.

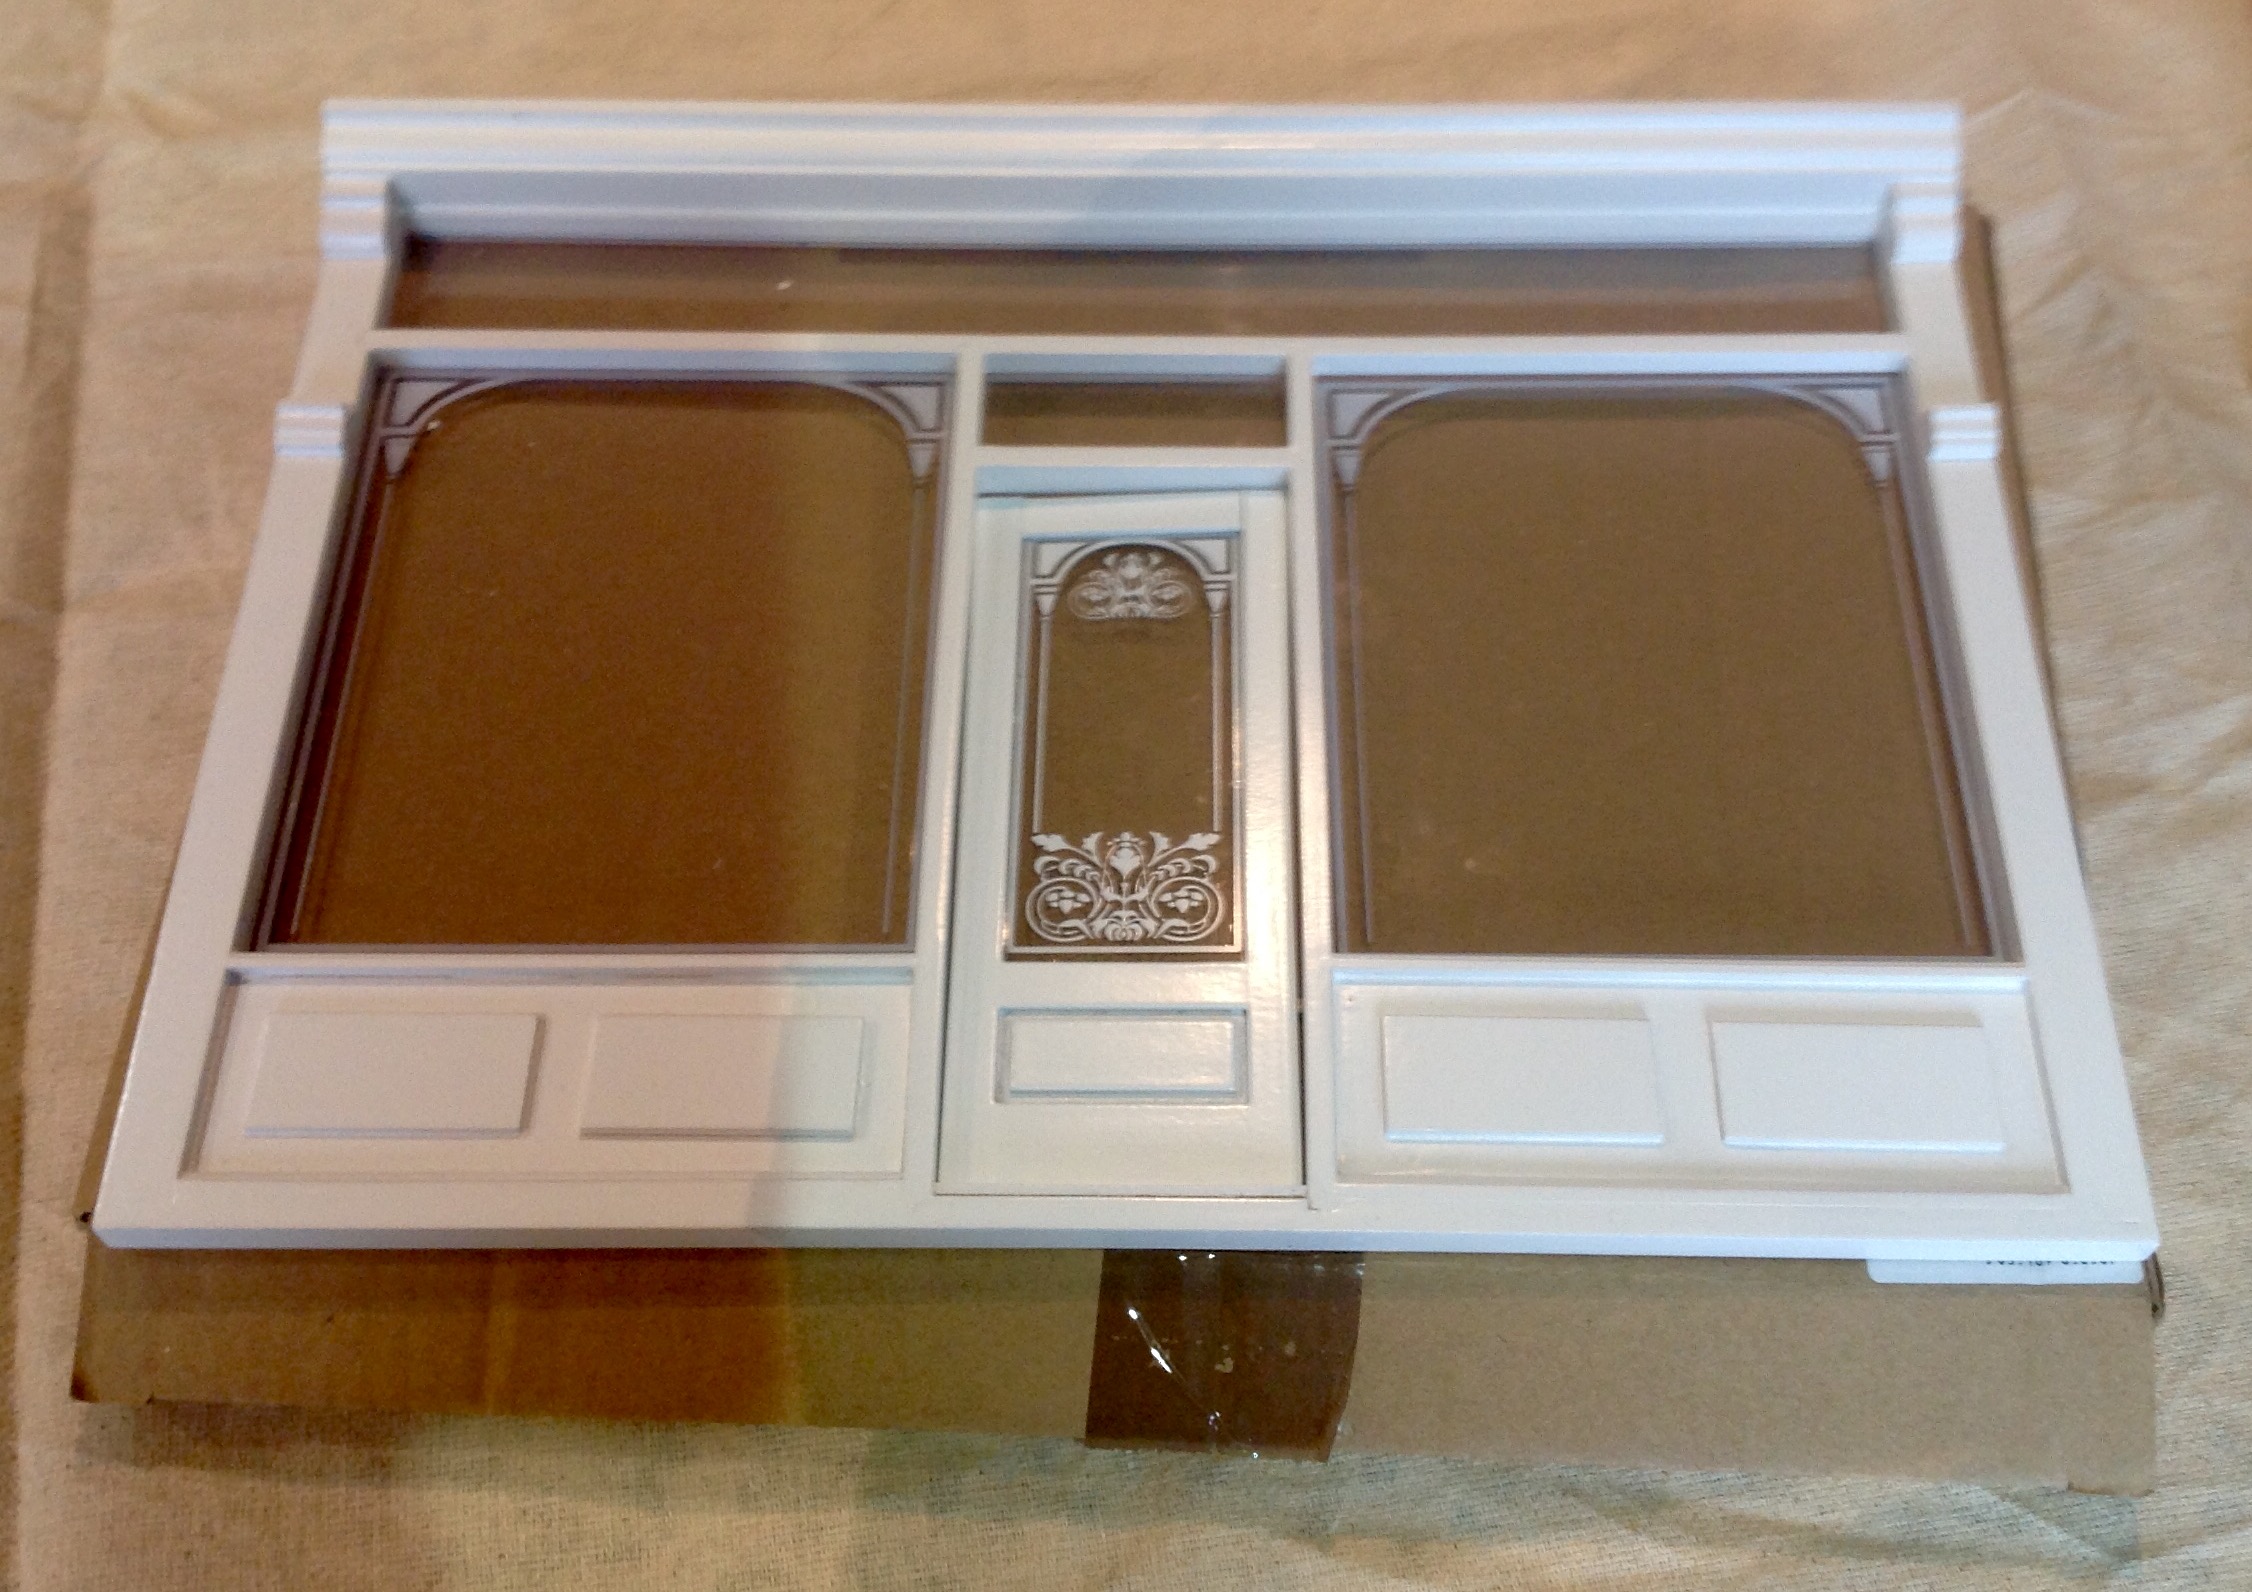
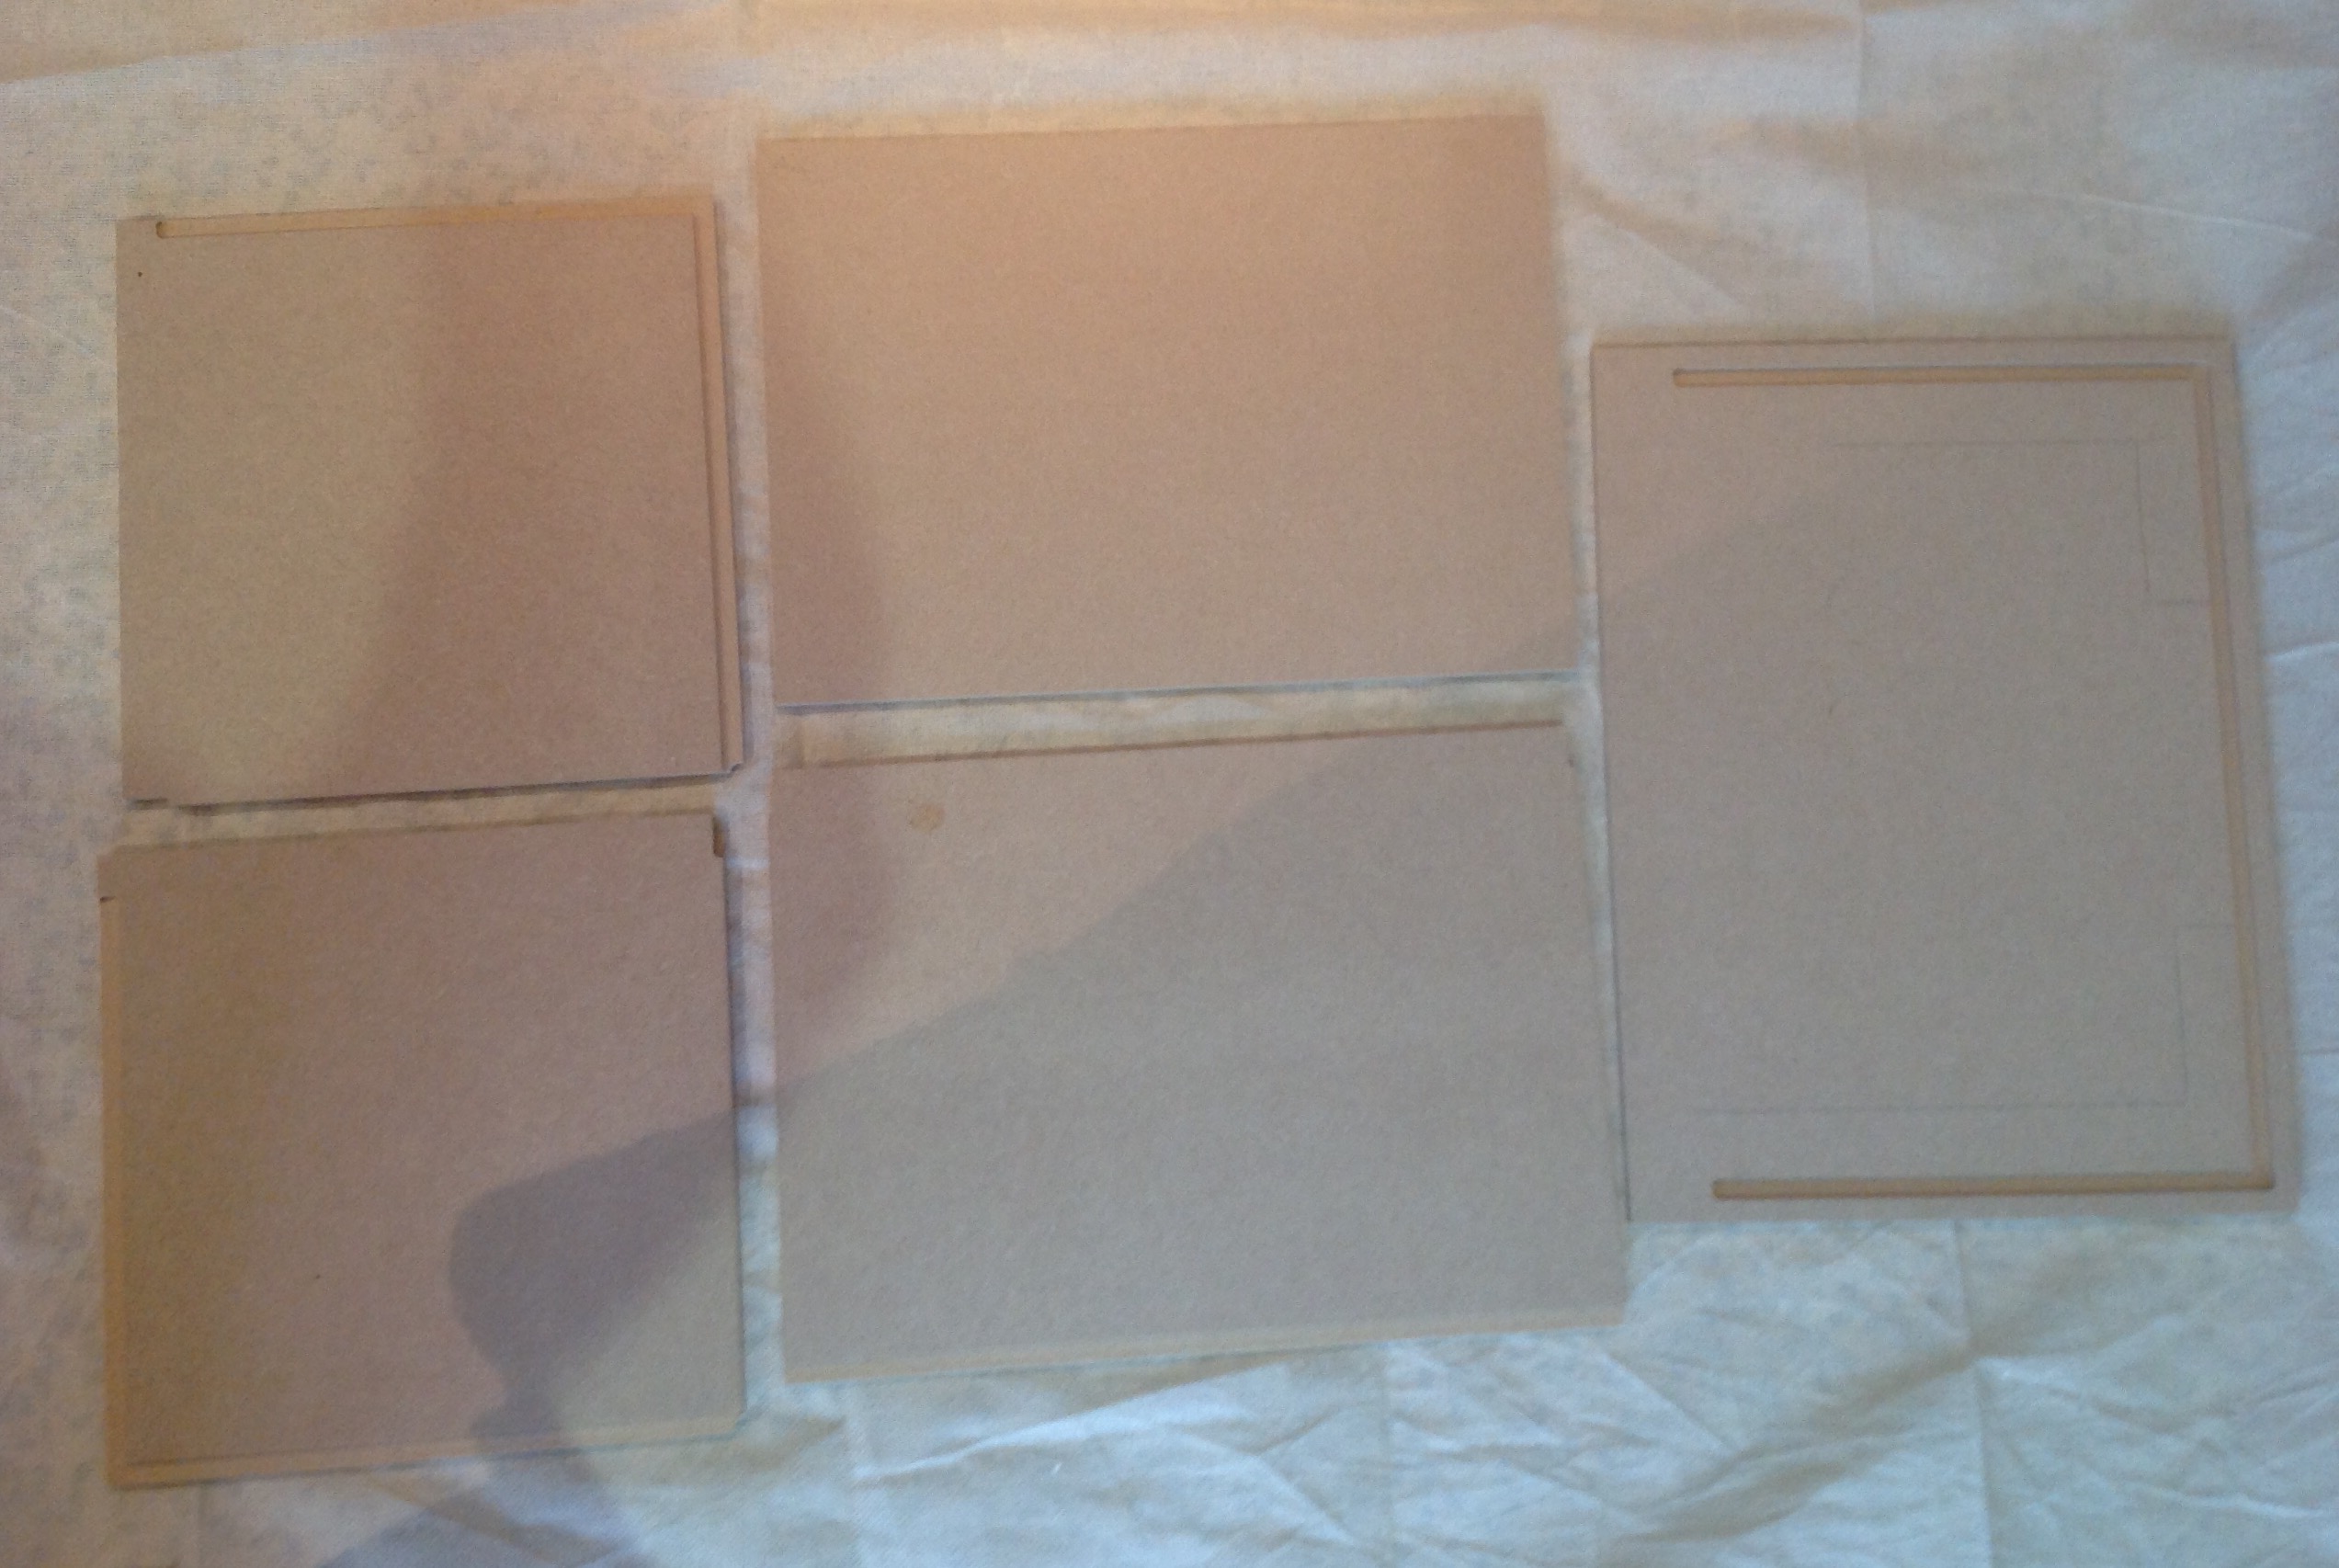
The shop itself is a 1:12th scale flat pack MDF Room Box Shop Kit with a white shop front purchased from the Beautifully Handmade ebay shop. Once constructed, the completed box will be approx 35.5cm x 25cm x 26cm deep internally. The kit includes a 5 piece untreated MDF flat pack box, a ‘Streets Ahead’ shop front (pre-painted white) and 2 hooks and eyes with screws (to hold the shop front on).

The shop front windows are fitted with clear acetate with a decoratative white design and there is a prefitted door which opens inwards.

Having learned the lesson while decorating my first Dollshouse, I plan to paint the exterior, apply the wall and floor paper, paint the ceiling and prepare the lighting before I permanently fix the box together.

Putting the shop front aside for now, I began by applying two light coats of paint to the exterior walls of the box. I used regular household paint in ‘polished pebble’ (a very light grey) which was left over after doing some full sized redecorating at our home.

I didn’t bother to paint the whole surface of the floor section as only the edges will be visible. Most of the floor panel will be covered in a wooden floor board effect paper that I will glue on later.

The next step…

The interior: apply the floor board effect paper and wallpaper. Base coat the ceiling & prepare for light fixtures.

Let there be light…

I wasn’t brave enough to attempt wired lighting in my first Dollshouse project so this time I want to give it a go. While doing some preparation, I came across a really helpful article on the Dollshouse Parade website about lighting in dolls houses.

Read the article here: http://www.dollshouseparade.net/lighting-tips.html

Their expert Dollshouse builder, Dave ‘Dusty’ Caswell provides some excellent advice and useful tips such as:

  • It is much easier to plan out where lights will go, then drill & make grooves/channels for the wiring before the house is assembled.
  • To find the centre of a room simply draw a diagonal line from one opposing corner to another and then repeat between the other two corners. Where the lines cross is the centre of the room.
  • For ceiling lights you should drill two holes – one through the ceiling above where you want to hang the light and another out through the back wall of the house where you want the wire to exit.
  • Dusty recommends running wires across a floor rather than a ceiling because it is easier to the hide wires under the floor covering Of the room above.
  • Drill holes using a drill bit slightly larger than the wire – the smaller the holes the neater the job.

Browse the archives…

Find me on social media…

The Victoria Sandwich cake

miniature Victoria Sponge Cake by dinky delights

I recently blogged about a beautiful little Victoria Sponge Cake that I have purchased for the shop bakery display. This got me thinking about eating some Victoria Sponge Cake and wonderering if it really is named after Queen Victoria herself.

Just in case you haven’t had the good fortune to eat a slice (or 3) of Victoria Sponge, I should explain that it is traditionally a two-layer light and airy cake that is filled with a layer of jam and topped with a dusting of icing sugar. It is cut into small “sandwich” slices (or big slabs in my house) and served preferably with a good cup of tea.

This delicious baked snack is also known as the Victoria Sandwich or Victorian Cake. According to What’s Cooking America it is considered to be the quintessential English teatime treat. They also describe the alleged origins of the Cake.

Anna, the Duchess of Bedford, one of Queen Victoria’s ladies-in-waiting, is credited as the creator of teatime… The Duchess suffered from “a sinking feeling” at about four o’clock in the afternoon. At first the Duchess had her servants sneak her a pot of tea and a few bread stuffs into her dressing room.

Adopting the European tea service format, she invited friends to join her for an additional afternoon meal at five o’clock in her rooms at Belvoir Castle. The menu centered around small cakes, bread and butter sandwiches, assorted sweets, and, of course, tea. This summer practice proved so popular, the Duchess continued it when she returned to London, sending cards to her friends asking them to join her for “tea and a walking the fields”. The practice of inviting friends to come for tea in the afternoon was quickly picked up by other social hostesses.

Queen Victoria adopted the new craze for tea parties. By 1855, the Queen and her ladies were in formal dress for the afternoon teas. This simple cake was one of the queen’s favorites. After her husband, Prince Albert, died in 1861, Queen Victoria spent time in retreat at the Queen’s residence, Osborn House, on the Isle of Wight. According to historians, it was here that the Victoria Sponge Cake was named after Queen Victoria.

An alternative origin for the cake is suggested by Michael Hunter in his blog, The Queen and her cakes, written for English Heritage. He says:

Originally, the Victoria Sponge may have started in the nursery. In the early Victorian period, afternoon tea consisted of seed cake and fruit cake. For safety reasons, it was believed that children should not eat a cake containing pieces of fruit or seeds. The light, harmless Victoria Sponge was prepared as a teatime treat for them instead! Only later on did it make its way to the adult tea table.

Isabella Beeton

A recipe for the cake even appears in the famous Victorian Household Bible, Mrs. Beeton’s Cookery and Household Management, written by Isabella Beeton in 1874:

Victoria Sandwiches.


Ingredients.–4 eggs; their weight in pounded sugar, butter and flour; 1/4 salt spoonful of salt, a layer of any kind of jam or marmalade.

Mode.–Beat the butter to a cream; dredge in the flour and pounded sugar; stir these ingredients well together, and add the eggs, which should be previously thoroughly whisked. When the mixture has been well beaten for about 10 minutes, butter a Yorkshire-pudding tin, pour in the batter, and bake it in a moderate oven for 20 minutes. Let it cool, spread one half of the cake with a layer of nice preserve, place over it the other half of the cake, press the pieces slightly together, and then cut it into long finger-pieces; pile them in cross bars on a glass dish, and serve.

Time.–20 minutes. Average cost, 1s 3d
Sufficient for 5 or 6 persons. Seasonable at any time.

Mrs Beeton’s Book of Household Management

Professor Rebecca Earle, Food Historian from the University of Warwick, investigated the history of the Victoria sponge and attempted to bake the cake using Mrs Beeton’s directions. She noted that…

…unlike modern sponge cakes, her recipe employs no baking powder or other leavening agent aside from the eggs; baking powder, invented in 1843, did not become common in cakes until some decades later. I was curious how well Mrs Beeton’s version would rise. The batter puffed up enthusiastically, but unevenly, and an extra 5 minutes in the oven was not enough to prevent the cake from being what my Austrian grandmother would have called ‘mürbig’, or under-baked.

You can read the rest of Professor Earle’s article here: ‘Queen Victoria truly did enjoy a Victoria sponge’

image from Doves Farm

In their article, ‘The History of the Victoria Sponge, Anges des sucre say…

The initial reason it was distinguished from a simple sponge was due to the invention of baking powder in 1843. The miracle powder allowed the cake to rise more and was invented by Alfred Bird, an Englishman involved in food manufacturing. The addition allowed for the cake to include more fat (in the form of butter), therefore creating a richer cake. Prior to this, cakes were made using equal measures of sugar, butter, flour and the addition of eggs to leaven sponge. However, the cakes without the additional baking powder were much thinner and not as ‘sponge’ like in consistency, making them more like a biscuit.

I can’t say that I fancy a slice of Mrs Beeton’s Victoria Sponge. I think we’ll stick to my mum’s faithful family recipe (straight out of the Be-ro Book!)

Victoria Sandwich (serves 8-10)

20 min prep / 25 min cooking

Ingredients: 175g (6oz) Self Raising Flour, 175g (6oz) caster sugar, 175g (6oz) unsalted butter, 3 large eggs (beaten), 1 Tbsp water. Filling: Strawberry jam, icing sugar to dust.

Method: 1) Preheat oven to 180 degrees C/fan 160/gas mark 4. 2) Grease and line the base of 2x18cm (7 inch) Sandwich tins with baking parchment. 3) sift the flour into a bowl and put to one side. Cream butter and sugar together until light and fluffy. Gradually add the the beaten eggs and water with a little of the flour. Gently fold in the remainder of the flour until all the ingredients are combined. 4) turn into prepared tins and level the surface. 5) bake for 25-30 minutes until well risen, golden and firm to the touch. 6) allow to cool in the tins for 5 minutes, then turn out and cool fully on a wire rack. 7) Sandwich together with jam, dust with icing sugar.

You can order your own Be-Ro recipe book here: https://bero.bmc-ics.com/Orders/Create/Online for only a few pounds!

Browse the archives…

Find me on social media…

Fresh from the oven…

You walk into the bakery, the air is filled with the smells of fresh bread and warm pastry. There is a counter full of golden savoury pies, pasties and sausage rolls and sweet iced treats, biscuits and cakes. Which to choose?

My choices were easy… freshly baked pasties and pies

And a light and fluffy Victoria sponge cake.

Don’t they look good enough to eat? These amazingly detailed miniatures were made by the very talented Louise at Dinky-Delights. She has a huge range of wonderful 1:12th scale miniatures, not just cakes and pastries. Why not a support small business (pun intended!)

Take a look at her ebay shop Dinky Delights or find her on Facebook https://m.facebook.com/DinkyDelights/

Looking at those pictures has made me hungry. I feel a Victoria sponge post coming on…

Browse the archives…

Find me on social media…

Have you had your 5-a-day?

An essential part of any Victorian grocery store would have been fruits & vegetables. I want my doll-sized green grocery section to offer a fairly authentic selection of produce so I thought I should do a bit of research to see what most Victorian grocers had to offer.

According to Michael Mosley:

There were plenty of cheap, seasonal vegetables to be found in the markets, including onions, cabbage, leeks, carrots and turnips. The main fruits were apples in the winter and cherries in the summer.
The Victorians also ate lots of healthy, fibre-rich nuts, such as chestnuts and hazelnuts, which were often roasted and bought from street-corner sellers.

https://www.bbc.co.uk/news/magazine-37654373

A common sight in Victorian times, were costermongers. These were people selling goods such as fruit and vegetables, from a handcart in the street. Lots of the images I have seen show costermongers selling basic seasonal vegetables such as potatoes, carrots & cabbages.

I want to offer a good range of items presented in baskets on a tiered display, similar to most of the images I have seen.

Ready made 1:12 scale crates or baskets of fruit and veg can be expensive (around £4 for an individual filled crate) so I plan to make my own. I have bought tiny woven baskets rather than crates and a selection of loose miniature vegetables and fruits. I will glue the items into place to avoid accidental spillages (which are likely with 4 boys in the house!) Tiny customers don’t want bruised fruit and veg that have been rolling around the floor (even though real Victorians were eating far worse!)

I chose a set of simple natural finish shop display shelves, miniature 3 cm wicker baskets and a selection of loose vegetables and fruits.

All purchased from http://www.tumdee-dollshouse-miniatures.co.uk/

They have a great selection of items that are fairly priced so you can purchase as many or few as you wish. Delivery was quick too! Just look at how beautiful the tiny fruits and veg are!

It looks like the first mini shop project will be the fruit and veg display! I plan to customise the tiered shelves & paint them to match the other shop fittings (once I can decide on the colour scheme!) I also want to darken the colour of the baskets & remove the handles to suit the look I’m after. Watch this space for updates…

Browse the archives…

Find me on social media…

Victorian advertising… setting the scene.

From the moment I decided to build a miniature shop, I have been looking for design inspiration for all manner of things that I could include inside the store. Wall coverings, flooring, shelving and display units, and an endless list of possible stock. There is such an amazing range of miniature items available to purchase or make that I really didn’t want to limit myself to just one product type, hence my decision to make a general store with a bigger choice of fresh produce, dry goods and household items.

While searching the net for ideas, I noticed that there was one distinctive feature in all the examples of Victorian era shops. They all include multiple examples of product advertising. Victorian shop exteriors & interiors were covered in vivid and often beautifully illustrated advertisements.

To recreate a realistic Victorian setting, I needed to know more about the use of advertising…

In modern times we are surrounded by advertising in many forms. We are bombarded with images, catchy tunes and eye-catching videos on the TV, internet, social media, the radio, newspapers & magazines.

The Victorians were also exposed to a vast array of advertising. Newspaper advertisements, trade cards and notices to promote businesses had been common since the eighteen century. But in the Victorian period, advertising really took off as the demand for products increased hugely and a surge of producers rushed to meet the demand.

The expansion of the British Empire had created new markets for manufacturers to export their wares and resulted in new imported goods and ingredients for sale in Britain.

Linton’s Desiccated Coconut 1885 – notice the image hanging on the wall. The advertiser is trying to subtly introduce the origins of this ‘foreign’ product.

The tide of migration from rural areas to towns and cities also greatly affected the need for affordable and available goods. New machines and factories made mass production of a huge range of products possible. Food production became industrialised. Tinned and bottled preserved foods became commonly available.

The Princess Luncheon Cake, 1893, they proudly describe their product as ‘ made entirely by machine’
Poulton & Noel Limited foods, 1904 – the motor car has been created from examples of the company’s canned, bottled and jarred products.

Developments in the transport system also affected produce production and sales. Railways and steamships were an integral part of the supply chain.

Competition for trade was strong. Manufacturers really needed their goods to stand out compared to their competitors produce. Advertising posters and trade cards increased in quality and design as printing techniques helped to improve.

There are still a vast range of examples of advertising from the period which have survived. They are an excellent source of information about the range of produce available, eating habits, fashions, household cleaning regimes, hobbies.

Many adverts from the time strongly reflect Victorian values and attitudes to family life, health and appropriate behaviour.

Bovril, 1898 – despite going bathing this lady is very modestly dressed and is even using a bathing machine to further protect her modesty as she leaves the water.

One interesting fact regarding Victorian society and advertising relates to the sale of alcohol. Advertisements for alcohol were common despite the widely held belief that alcohol was a cause of many social problems. The Temperance movement was a group of individuals who sought to reform society through the control of alcohol. Alcoholism was a major cause of poverty. The movement scorned drunkenness and campaigned for harsher punishment of alcohol abusers. Despite this, many people thought it was safer to consume alcohol such as beer as it was cleaner than local drinking water and in some cases alcohol was actually used as a medicine to maintain health.

Images registered at Stationers’ Hall under the Copyright Acts in force from 1842 to 1912

Many thanks to the following sources:

After all that research, the adverts had done their job. I couldn’t resist shopping for some advertising products for my own shop. I can’t wait for these to arrive.

Miniature vintage shop signs (29/30mm x 43/45mm) from https://www.mytinyworld.co.uk

Counter display boxes and a vintage sign at brilliant prices from https://www.aminiaturemarvel.com

Browse the archives…

Find me on social media…

It’s a Wonder the Victorians Survived … — A Reader’s Reflections

… Not to mention that they built bridges, railways and an Empire! Last Saturday I fell foul of a dodgy fowl and spent the next few hours feeling extremely sorry for myself battling a bout of food poisoning … and it got me thinking! In the course of researching for my Severn Family Saga, I […]

It’s a Wonder the Victorians Survived … — A Reader’s Reflections

This is a fantastic and equally gruesome article by Lisa Absalom at A Reader’s Reflections

I have been thinking a lot about what to stock in the finished shop and based on Lisa’s article, it seems like any chosen produce needs to be contaminated with all manner of chemicals, poisons, insects, bacteria and human waste to give it that truly Victorian flavour! 😂

Browse the archives…

Create your own website, free on WordPress.com.Create your own website.
Start free